
Water on the floor near your Kenmore freezer is one of those problems that demands immediate attention — not just because of the mess, but because standing water near an appliance is a genuine safety concern. The good news: 68% of Kenmore freezer leaks trace back to a single cause — a clogged defrost drain. That means most people reading this can fix the problem themselves, for free, in under an hour.
But before you reach for a turkey baster, you need to know where the water is actually coming from. The location of the puddle tells you almost everything about the cause. That’s where we start.
Where Is the Water Coming From? Diagnose the Leak Location
The single most useful thing you can do right now is look at where the water is pooling. Different locations point to different causes — and different fixes.
Water on the Floor in Front of the Freezer
Three likely culprits:
- A damaged door gasket letting warm, humid air into the freezer, causing excess condensation that drips down the front
- An overflowing or cracked drain pan underneath the unit
- An ice maker fill tube that’s dripping forward
If you see moisture along the bottom front edge of the door, run your hand along the door seal. Any soft spots, tears, or gaps in the gasket are worth investigating. A compromised door seal doesn’t just affect temperature — it can quietly contribute to a water leak over weeks before you notice it.
Water Behind or Under the Freezer
This is the most common leak location, and it almost always means one of three things:
- The defrost drain is clogged and overflowing the drain pan
- A cracked water supply line is dripping behind the unit
- The water inlet valve has a loose fitting or hairline crack
Pull the unit away from the wall and look at the floor behind it. If the water is directly under the center-rear of the unit, the drain pan or defrost drain is the likely source. If it’s closer to the wall connection, inspect the water supply line first.
Water or Ice Inside the Freezer Compartment
Water pooling inside the freezer — especially under the crisper drawers or at the bottom of the compartment — is almost always a defrost drain clogged with ice or food debris. During each defrost cycle, the melted frost has nowhere to go and backs up into the compartment instead of draining down to the pan.
On KENMORE 106.77292790 (with a freezer section on the top), this is one of the most documented complaints — water accumulating inside the freezer section, eventually leaking onto the floor.
Water Around the Door Frame
Condensation dripping from the door frame or hinge area points to a damaged door gasket allowing warm, humid air to enter. The moisture condenses on the cold interior surfaces and eventually runs down to the floor. This is more of a slow drip than a sudden puddle — you might notice it as a damp spot that keeps coming back.
See our Kenmore freezer door not sealing guide for a full gasket diagnosis and replacement walkthrough.
The #1 Cause: Clogged Defrost Drain
This deserves its own section because it’s overwhelmingly the most common cause — and it’s a completely free DIY fix. Understanding how the defrost system works makes the repair much easier to approach.
How the Defrost Drain Works
Frost-free Kenmore freezers run automatic defrost cycles — typically two to four times per day. During each cycle, a heating element briefly warms the evaporator coils, melting accumulated frost. That meltwater flows down a channel to the defrost drain opening, travels through a drain tube to the drain pan underneath the unit, and evaporates via heat from the condenser fan.
When the drain tube gets blocked — by food particles, ice buildup, or mineral deposits — the water has nowhere to go. It backs up, overflows the evaporator tray, and either pools inside the freezer compartment or finds its way to the floor.
Where to Find the Defrost Drain on Your Kenmore Freezer
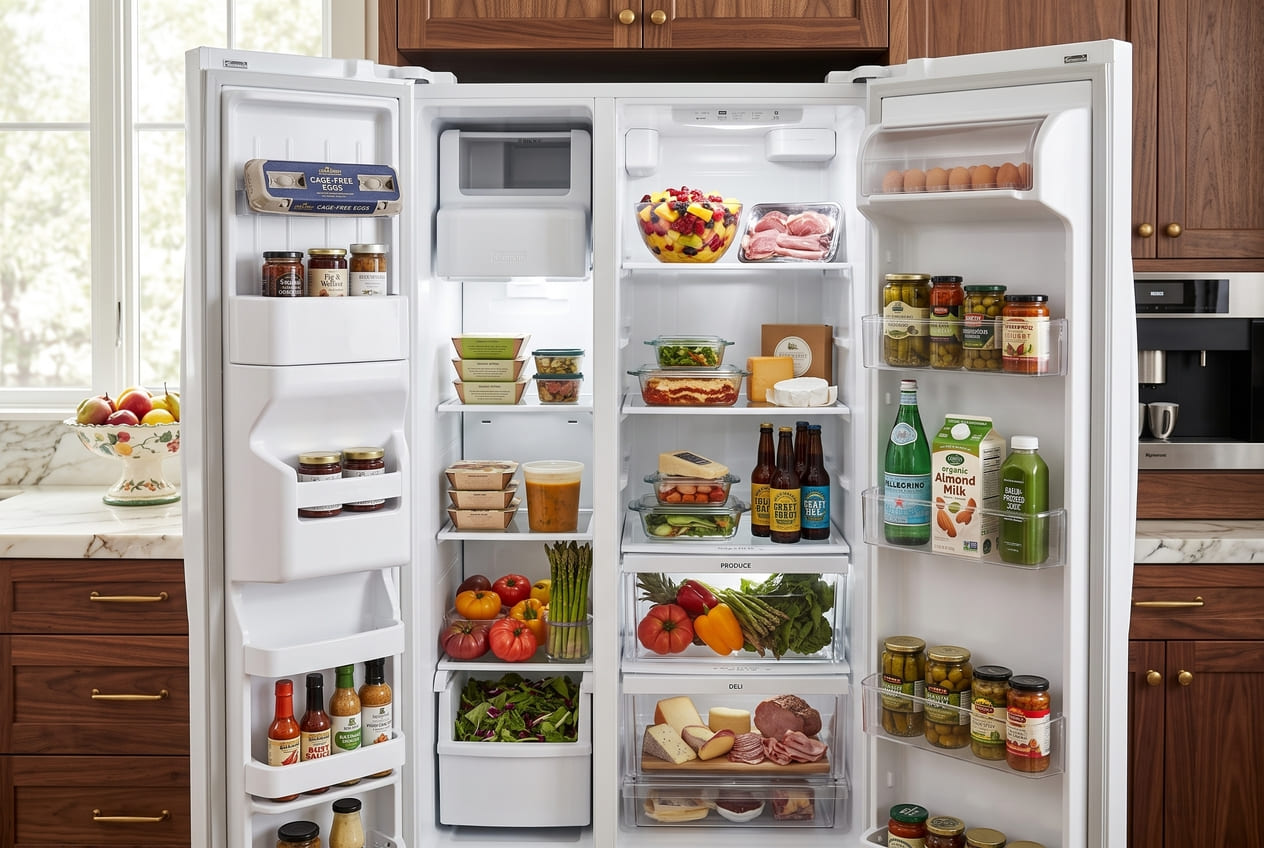
Location varies by configuration:
- Upright freezers (253-series, Frigidaire-built): The drain opening is at the bottom rear of the freezer compartment, behind a removable back panel. You’ll need to remove the panel to access it.
- Side-by-side models (106-series, Whirlpool-built): The drain is behind the rear interior panel of the freezer section held by two screws at the top and clips along the sides.
- French door models (596-series, Frigidaire-built): The drain is at the bottom of the freezer drawer compartment, typically accessible after removing the drawer and floor panel.
How to Unclog a Kenmore Freezer Defrost Drain
Difficulty: Moderate | Time: 30–45 min | Cost: $0
What you’ll need: Turkey baster, warm water, pipe cleaner or flexible drain snake, mild bleach solution (optional), towels.
Steps:
- Unplug the freezer. Always.
- Remove any food from the freezer compartment and set it in a cooler.
- Remove the rear interior panel (screws + clips — keep track of hardware).
- Locate the drain opening at the bottom of the evaporator area. If there’s ice blocking it, let it thaw naturally or use a hair dryer on low heat from a safe distance.
- Fill a turkey baster with warm (not boiling) water and flush the drain opening. You should hear or see water flowing through to the drain pan below.
- If flushing doesn’t clear it, insert a flexible pipe cleaner or drain snake into the drain tube and gently work it through. Food particles are the most common clog material on Kenmore upright models.
- Once clear, flush again with warm water to confirm flow.
- Optional but recommended: pour a small amount of diluted bleach solution (1 tablespoon bleach per quart of water) into the drain to inhibit future mold and debris buildup.
- Reinstall the panel, plug in the unit, and monitor for 24 hours.
If the drain refreezes within a few days: The root cause is likely a failing defrost heater or defrost thermostat — not the drain itself. At that point, the repair moves beyond a simple flush.
How to Prevent Defrost Drain Clogs
- Flush the drain annually as part of routine maintenance
- Don’t store food directly against the rear interior panel — it can block the drain opening
- Keep the freezer level so meltwater flows toward the drain rather than pooling
- Replace the door gasket if it’s showing wear — a damaged door gasket accelerates frost buildup, which overloads the drain faster
Other Causes of a Kenmore Freezer Leaking Water
Cracked or Damaged Water Tubing
The water supply tubing runs from your household water line to the inlet valve, and from the valve to the ice maker. Cracked water tubing accounts for about 9% of Kenmore freezer leaks — less comon than a drain clog, but worth checking if the drain is clear.
Tubing can crack from vibration, age, or mineral buildup at connection points. The leak is usually a slow drip rather than a steady flow — you might notice it as a damp spot behind the unit that appears gradually.
Inspection: Pull the unit away from the wall. Trace the water line from the wall connection to the back of the unit. Look for wet spots, white mineral deposits around fittings, or visible cracks. Tighten any loose compression fittings first — sometimes that’s all it takes. If the tubing itself is cracked, replace the affected section. Cost: $5–$30 for replacement tubing.
Cracked or Overflowing Drain Pan
The drain pan sits underneath the unit and collects water from the defrost drain tube. Under normal operation, the condenser fan evaporates this water before it accumulates. Two things can cause it to leak:
- The pan is cracked — water drips straight through to the floor
- The defrost drain is partially clogged — water reaches the pan faster than it can evaporate, and the pan overflows
To inspect: unplug the unit, remove the front base grille, and slide out the drain pan. Look for cracks, discoloration, or standing water that’s clearly overflowing the rim. A cracked pan is a straightforward swap. Cost: $10–$30 for a replacement pan.
Damaged Door Gasket
A damaged door gasket does more than affect temperature. When warm, humid air enters the freezer repeatedly, it condenses on the evaporator coils and interior surfaces. Over time, this excess moisture overwhelms the defrost drain’s capacity and contributes to both ice buildup and water leaks.
The pattern: you notice frost accumulating faster than usual, the freezer runs more frequently, and eventually water starts appearing inside the compartment or at the base of the door. Replacing the gasket stops the moisture source — but if the drain is already clogged from the excess frost, you’ll need to clear that too.
Water Filter Housing Issues
A water filter that’s improperly installed or has a cracked seal can leak at the filter housing. This is more common right after a filter change — if the filter wasn’t seated fully, water bypasses the seal and drips.
Check: Remove the filter and reinstall it, making sure it clicks or locks into position. Run the dispenser for 30 seconds and watch the housing for drips. If the housing itself is cracked, it needs replacement — the housing is not repairable with sealant.
On KENMORE 596.51672100 (a Frigidaire-built French door model), the filter housing is located in the upper right interior of the refrigerator section. A common complaint on this series is water dripping from the filter area after a filter change — almost always caused by the filter not being fully seated.
Faulty Water Inlet Valve
The water inlet valve can develop a slow leak if it has a cracked fitting, a loose connection at the water supply line, or mineral buildup that prevents it from closing completely. Unlike a burst line, this type of leak is gradual — a slow drip that collects behind the unit over days.
Inspection: Unplug the unit and shut off the water supply. Examine the valve body and both connection points for moisture, mineral deposits, or visible cracks. If the valve body is cracked, replacement is the only fix. If the connection is just loose, tightening the fitting may resolve it. Cost: $15–$70 for a replacement valve.
Ice Maker-Related Leaks
An overfilling ice maker, a misaligned fill tube, or a cracked ice maker housing can all cause water to drip inside the freezer compartment. If the water is appearing specifically near the ice maker — not at the bottom of the compartment — the ice maker is the more likely source.
For a full ice maker leak diagnosis, see our Kenmore freezer ice maker troubleshooting guide.
Faulty Evaporator (Frost-Free Models)
When the evaporator develops a refrigerant leak in a frost-free model, the unit stops cooling effectively. The resulting frost and ice melt and accumulate as water. This is the least common cause — about 8% of cases — but it’s also the one that requires professional repair. Refrigerant handling is EPA-regulated and cannot be done as a DIY repair.
If your freezer is leaking water AND not maintaining temperature, the evaporator is worth having a technician evaluate.
Kenmore Freezer Water Leak Repair Costs at a Glance
Repair | DIY Cost | Professional Cost |
Defrost drain flush | $0 | $80–$150 |
Water tubing replacement | $5–$30 | $75–$200 |
Drain pan replacement | $10–$30 | $75–$150 |
Water inlet valve | $15–$70 | $100–$300 |
Water filter replacement | $30–$60 | $50–$200 |
Door gasket replacement | $30–$100 | $150–$400 |
Evaporator repair | Pro only | $200–$600 |
The defrost drain flush is the standout value here — it’s the most common cause and costs nothing to fix. If you’re going to do one thing before calling a technician, that’s it.
Emergency Steps — What to Do Right Now
If you’ve just discovered the leak and water is actively spreading:
- Unplug the freezer — water near electrical components is a hazard. Don’t skip this step.
- Mop up standing water immediately — hardwood and laminate floors can warp within hours of water exposure.
- Place towels or a shallow pan under the unit to catch ongoing drips while you diagnose.
- Pull the unit away from the wall — you need to see what’s behind it, and moving it prevents water from spreading further.
- Don’t touch standing water near the unit until it’s unplugged — even a small amount of water near an electrical connection is a risk.
If the water has reached hardwood flooring or cabinetry, document it with photos before cleaning up — you may need this for insurance purposes.
When to Call a Professional
Most Kenmore freezer leaks are DIY-friendly. These situations are the exceptions:
- Evaporator leak — refrigerant handling requires EPA-regulated equipment and cannot be done at home
- Persistent leaks after clearing the drain — if the drain refreezes repeatedly, the defrost heater or thermostat has likely failed
- Water near electrical connections — if you can’t safely access the source without getting near wiring, call a technician
- Cabinet or floor damage — if the leak has been ongoing long enough to damage the floor or surrounding cabinetry, a professional assessment may be needed for insurance documentation
- Multiple causes at once — if the drain is clear, the pan is intact, and the tubing looks fine but water is still appearing, a technician can run a systematic diagnosis faster than working through it component by component
Conclusion
A Kenmore freezer leaking water is almost always traceable to one of a handful of causes — and the most common one, a clogged defrost drain, is free to fix and takes less than an hour. Start by identifying where the water is pooling: front of the unit, behind it, inside the compartment, or around the door frame. Each location points to a different cause.
Work through the free fixes first — drain flush, drain pan inspection, filter reseating — before ordering parts. If the drain is clear and the leak persists, move to the water tubing, inlet valve, and door gasket. The evaporator is the last thing to check, and the only one that requires professional service.
For Kenmore Elite models and French door configurations, the drain location and access procedure differ from standard uprights — refer to the model-specific notes above before removing panels.
FAQ
1. My Kenmore freezer has been leaking for a few days, but only a small amount each time. Should I be worried?
Yes — even a slow, intermittent leak can cause significant floor damage over time, especially on hardwood or laminate. A small leak also tends to get worse, not better. The most likely cause of a gradual, recurring leak is a partially clogged defrost drain that’s overflowing a little during each defrost cycle. Flush the drain and monitor for 48 hours.
2. I cleared the defrost drain on my Kenmore freezer, but it clogged again within a week. What's causing that?
Recurring drain clogs usually mean the defrost heater or defrost thermostat isn’t functioning properly — the drain is freezing over between cycles rather than staying clear. Flushing the drain treats the symptom; the underlying defrost system issue needs to be addressed to prevent recurrence.
3. There's water pooling inside my Kenmore freezer, but the floor is dry. Is that still a leak?
It’s the same root cause — a clogged defrost drain — but the water hasn’t made it to the floor yet. It’s backing up into the compartment instead of draining down to the pan. Address it now; left alone, it will eventually overflow to the floor and potentially damage the flooring.
4. My Kenmore side-by-side freezer is leaking, but I can't find where the water is coming from. Where should I start?
On side-by-side models, start by pulling the unit away from the wall and checking the floor behind it. If the water is centered under the rear of the unit, the defrost drain or drain pan is the likely source. If it’s near the wall connection, inspect the water supply line. The defrost drain on side-by-side models is behind the rear interior panel of the freezer section — it’s a bit more involved to access than on upright models.
5. Is it safe to keep using my Kenmore freezer while it's leaking?
It depends on where the water is. If the leak is minor and away from electrical components, the freezer can continue operating while you diagnose and fix it — but monitor it closely and keep the area dry. If water is near the power cord, the compressor area, or any electrical connections, unplug the unit until the leak is resolved.
6. My Kenmore freezer started leaking right after I changed the water filter. What happened?
Almost certainly the filter wasn’t fully seated. Remove it and reinstall it, making sure it clicks or locks into position. Run the dispenser for 30 seconds and watch the filter housing for drips. If the housing itself is cracked — which can happen if the filter was forced in at an angle — the housing needs replacement.