

That tiny gap is costing you hundreds! A loose GE freezer door might seem like a minor annoyance — the door still closes, right? But that tiny gap is quietly draining your wallet. Every time warm, humid Atlanta air sneaks in, your compressor runs longer and harder. Electric bills creep up (often $20–50 extra per month in summer), food thaws prematurely, and ice cream turns into soup.
In our 15+ years fixing appliances across Atlanta and Georgia, we’ve seen one pattern repeat: roughly 30% of “my freezer is using too much power” calls trace back to a single fix — replacing a door gasket worn out from normal use and local climate stress. It’s not a dramatic breakdown. It’s a slow, expensive leak that most people ignore until the energy statement arrives.
In this article we’ll break down exactly how the door seal works, why it fails faster here than in cooler states, how to catch the problem early, three quick checks you can do today, and clear signs it’s time to call pros like us.
The Anatomy of a GE Freezer Seal: More Than Just Rubber
The gasket that runs around your GE freezer door isn’t simple rubber — it’s a carefully engineered system designed to create an airtight barrier. When it works properly, it keeps cold air locked in and prevents moisture from condensing inside. Understanding its parts helps explain why a small failure can snowball into big energy waste.
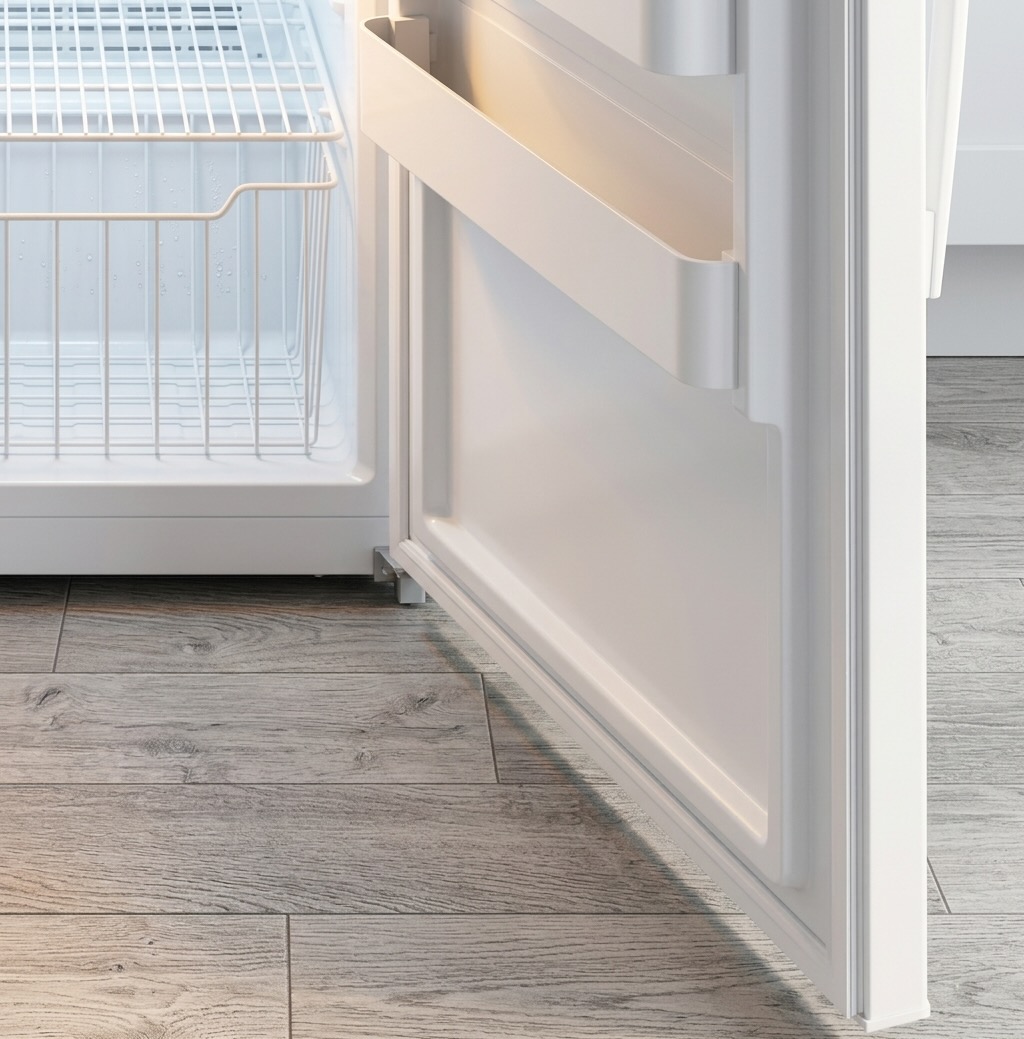
Here’s what makes up a typical GE freezer door seal:
- The Magnetic Core. Embedded inside the gasket is a flexible magnetic strip. It pulls the door firmly against the metal frame once closed, creating consistent suction all around the perimeter. Without strong magnetism, even a perfectly shaped gasket won’t hold tight.
- The Flexible Bellows. The accordion-like folds allow the gasket to compress and expand slightly as the door opens and closes. These bellows absorb minor misalignments and keep contact even if the door isn’t perfectly level. Over time, they can harden or crack from repeated flexing.
- The Attachment Lip. A thin lip or flange that snaps into a groove in the door liner. It holds the entire gasket in place. If this lip stretches, tears, or pulls out of the groove, the whole seal loses tension and fails to seat properly.
- The Outer Rubber/Plastic Skin. The visible black or gray material that touches the frame. It’s formulated to stay flexible at freezer temperatures, but heat, humidity, and age make it brittle, yellow, or prone to tearing.
When any of these components degrade, the seal weakens — and door seal replacement becomes the only reliable long-term fix. Patching or stretching rarely lasts because the magnetic strength and bellows flexibility can’t be restored DIY-style.
In our experience at Appliance Repair Master, most GE owners in Atlanta replace the gasket once every 7–12 years, but local conditions often push that timeline shorter.
Why Good Seals Go Bad: Atlanta's Role in Freezer Wear & Tear
GE freezer gaskets are built tough — most last 7–10 years under ideal conditions. But in Atlanta and across Georgia, that lifespan often drops to 4–6 years. Heat, humidity, and everyday habits team up to accelerate wear. Here are the biggest culprits we’ve seen repeatedly in service calls:
- Heat and UV exposure. Freezers in garages or sunlit kitchens take the hardest hit. Georgia summers push temperatures over 90°F, and direct sunlight breaks down the rubber faster. The gasket becomes brittle and loses its ability to compress evenly.
- High summer humidity. Atlanta’s muggy air introduces moisture that condenses inside the seal folds. Over time this promotes mold, swelling, and cracking — especially if the door is opened frequently for quick grabs.
- Household cleaners and kitchen grease. Spraying cleaners directly on the door or wiping with harsh chemicals strips the protective oils from the rubber. Grease from cooking splatters builds up, hardens, and prevents a clean seal against the frame.
- Mechanical stress from overloaded door shelves. Heavy items on door bins (juice jugs, frozen dinners) pull the door downward over months and years. This constant tug warps the frame slightly and stretches the gasket unevenly, leading to a door gasket worn in specific spots first.
By the time most owners notice cold air leaking, the damage is already advanced. Regular inspection can catch it early — before the compressor starts running overtime and your power bill spikes.
The Symptom Detective: How to Spot a Failing Seal
Don’t wait for frost to cover the entire door frame — catch the problem when it’s still small. Here are the most common signs we’ve heard from Atlanta homeowners over the years, explained simply:
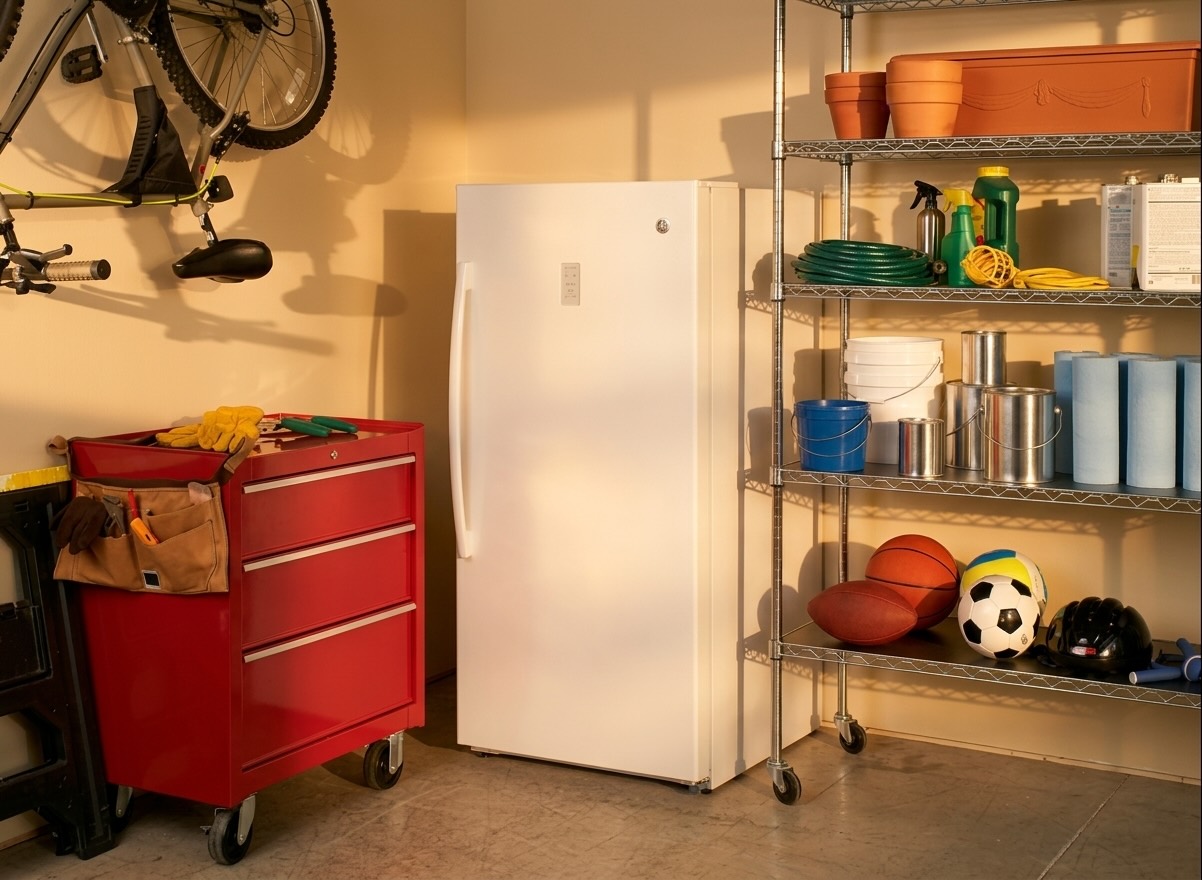
- If the door feels “sticky” or requires extra force to close, but then pops back open slightly — this often points to a closing cam broken or worn. The small plastic piece at the bottom hinge is supposed to guide the door into a firm latch position. When it cracks or flattens, the door doesn’t seat fully.
- If you can pull a dollar bill out easily from any side of the door (especially the top or bottom corners) without much resistance — the seal is weak. A healthy gasket should grip the bill tightly so it tears before slipping out.
- If the gasket looks yellowed, cracked, or hardened like old leather — that’s classic door gasket worn. The rubber has lost its flexibility from heat cycles and humidity, so it no longer compresses to fill tiny gaps.
- If you hear a faint hiss or whoosh near the door edges when the compressor starts — cold air is escaping. In humid Georgia kitchens, this quickly leads to ice crystals forming right inside the seal line.
- If the freezer runs almost constantly and the room feels warmer near the unit — poor sealing forces the compressor to overwork. Many customers tell us their electric bill jumped noticeably before they realized the door wasn’t sealing.
These clues rarely appear all at once. Usually one or two show up first. The sooner you notice them, the cheaper and easier the fix tends to be.
The Quick-Fix Corner: 3 DIY Checks Before You Call
Before picking up the phone, spend 5–10 minutes on these simple checks. In many Atlanta homes we’ve visited, one of them restores a decent seal temporarily — or at least confirms the problem is deeper. Do them in order:
- The Dollar Bill Test. Close the freezer door on a dollar bill or strip of paper at several spots around the perimeter (top, bottom, sides). Try to pull it out slowly.
- If it slides out easily anywhere — the door seal is weak and not gripping properly.
- If it tears or resists firmly every time — the seal is still making good contact (for now). Repeat the test monthly; it’s the fastest way to track degradation.
- The Level Check. Grab a small bubble level and place it on top of the freezer.
- If it’s not perfectly level side-to-side and front-to-back, adjust the front leveling legs (usually twistable feet) until the bubble centers.
- Uneven floors cause leveling issues that make the door hang crooked, creating gaps on one side. We’ve fixed many “leaky seal” complaints just by re-leveling — no parts needed.
- The Visual & Touch Inspection. Open the door wide and run your fingers along the entire gasket. Look closely under good light.
- Feel for hard, cracked, or torn sections; check if the magnetic strip inside still pulls toward the frame when you bring a small metal object near it.
- If the gasket is sagging downward in spots (especially the bottom), heavy door loads may have caused door sagging over time — the frame is slightly bent, and no amount of cleaning will fix the gap.
If any of these checks reveal a clear issue and simple adjustments don’t help, stop there. Attempting to stretch, glue, or heat-gun the gasket often makes things worse long-term — we’ve seen plenty of DIY attempts turn a $150 gasket job into a bigger repair.
When DIY Isn't Enough: Signs You Need Appliance Repair Master
If the three quick checks above don’t restore a solid seal — or if the problem comes back within days — it’s time to stop DIY experiments. Some issues go beyond what cleaning, leveling, or gentle reshaping can fix, and forcing things can bend hinges or tear the gasket further.
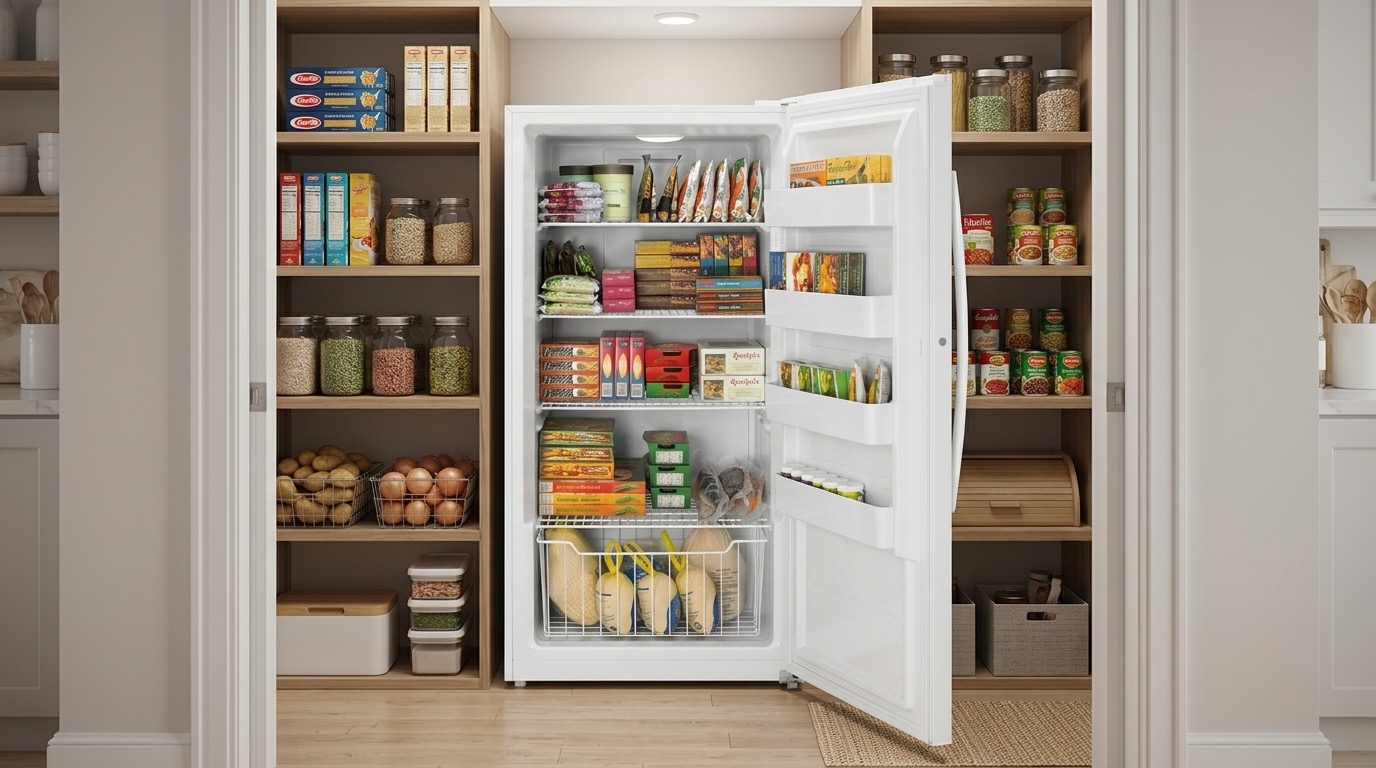
Here are the clear red flags we’ve seen hundreds of times in Atlanta homes:
- Visible deformation or cracks in the plastic frame around the hinges — this usually means hinge misalignment from years of door stress or a minor cabinet shift. Adjusting the legs won’t correct it; the entire door alignment needs professional recalibration.
- The door sags noticeably even after perfect leveling — heavy items on the shelves have permanently stretched the hinges or warped the door liner, causing ongoing door sagging. This creates uneven gaps that no new gasket alone can bridge.
- The magnetic strip inside the gasket feels weak or inconsistent along the entire length (test with a small screwdriver or key — it should pull strongly everywhere) — the magnet has demagnetized from heat exposure, and the rubber is too far gone to hold suction.
- After trying the dollar bill test and adjustments, you still hear air leaks or see frost buildup in the same spot — the root cause is structural, not just surface wear.
Conclusion: Seal the Deal on Your Energy Bills
A tight, reliable freezer door seal isn’t just a convenience — it’s the foundation of efficient operation. When it fails, you pay more for electricity, risk food spoilage, and shorten the life of your GE freezer’s compressor.
The good news: most door sealing problems are straightforward to diagnose and fix — especially if caught early. Whether it’s a worn gasket, misaligned hinges, or a broken closing cam, timely action saves money and prevents bigger headaches.
FAQ
1. Can I repair a torn GE freezer gasket with glue or tape?
No — glue or tape won’t restore the flexibility or magnetic pull. It may hold for a week or two, but the seal will fail again quickly, especially in humid Atlanta conditions. A proper door seal replacement is the only lasting solution.
2. How often should I replace the door gasket on a GE freezer?
Typically every 7–10 years, but in Georgia’s heat and humidity, many of our customers need it sooner — around 5–7 years. Regular dollar bill tests help catch wear before it becomes severe.
3. Why does my GE freezer door still not close properly after I replaced the gasket?
The new gasket alone can’t fix underlying structural issues like hinge misalignment or a closing cam broken. These often develop from years of heavy door use or uneven floors — a technician needs to realign the door and replace worn hinge parts.
4. Is it normal for the gasket to turn yellow over time?
Yes, yellowing is common from age, grease buildup, and exposure to kitchen cleaners. It’s a sign the rubber is hardening and losing its seal — don’t ignore it, as it reduces efficiency even before visible cracks appear.
5. My GE freezer is in the garage — does that make the seal wear out faster?
Absolutely. Garage temperatures swing wildly (hot summers, cold winters), plus UV from windows accelerates breakdown. We’ve seen door gasket worn happen twice as fast in garage units compared to kitchen ones.
6. Can I prevent door seal problems on my GE freezer?
Keep the gasket clean (wipe with mild soap monthly), avoid overloading door shelves to prevent door sagging, ensure the unit stays level, and minimize door openings in hot weather. These habits can add years to the gasket’s life.