

Quick Door Drop Test — do this first:
Close the freezer door and measure the gap between the door edge and the cabinet frame at the top and at the bottom. If the bottom gap is noticeably wider than the top, the door is sagging — and that’s your starting point. If the gaps are even but the door still won’t stay shut, you’re likely dealing with a closing cam or leveling issue. Keep reading.
Before we get into fixes, one important distinction: this article is about physical closure failure — the door won’t shut all the way, or it swings back open on its own. If your door closes but doesn’t create an airtight seal, that’s a different problem covered in our Kenmore freezer door not sealing guide. The two issues can look similar from the outside but have different root causes and different repairs.
A door that won’t close is more urgent. Every hour it stays open, your freezer is working overtime to compensate for warm air flooding in — and your food is at risk. The good news: in the majority of cases we see at Appliance Repair Master, the fix is mechanical, not electrical, and it’s something a homeowner can tackle with basic tools.
6 Causes Why Your Kenmore Freezer Door Won't Close
Bent or Damaged Door Hinges
А bent door hinge is the cause in roughly 66% of Kenmore freezer door closure failures — by far the most common culprit. Hinges take a beating over time: overloaded door shelves, kids hanging on the handle, or simply years of daily use all put stress on the pivot points.
The failure pattern differs by hinge position:
- Top hinge — tends to pull away from the cabinet, causing the door to gap at the top corner
- Bottom hinge — more likely to bend downward, causing door sagging toward the handle side
- Middle hinge (on some French-door style Kenmore models) — can develop play that causes the door to wobble rather than sit flush
A bent hinge rarely snaps clean — it usually deforms gradually, so the problem creeps up on you. One day the door closes fine; a few months later, you’re pushing it shut every time.
Worn Hinge Bushings
The hinge bushing is a small plastic sleeve that sits at the pivot point of the hinge pin. Its job is to reduce friction and keep the door riding smoothly on the hinge. When the bushing wears out or cracks, the hinge pin starts riding metal-on-metal, the door drops slightly, and door alignment shifts enough that the door no longer sits flush against the cabinet.
Broken Closing Cam
The closing cam (sometimes called a pivot block on certain Kenmore configurations) is a small angled plastic piece at the bottom hinge assembly. As the door swings toward closed, the cam creates a slight inward push that seats the door against the frame. When the closing cam is broken, that final push disappears — the door swings to the “closed” position but stops just short of latching, or drifts back open when you let go.
This is one of the most misdiagnosed issues we encounter. Homeowners replace the gasket, adjust the hinges, and still can’t figure out why the door won’t stay shut — because nobody checked the cam. It’s a $5–$25 part and a 10-minute fix.
Damaged or Missing Door Stop
The door stop is a small screw-mounted plastic bracket that limits how far the door can swing open. When it cracks or breaks off, the door can over-extend past its intended range. On the return swing, the door comes back at a slightly different angle and no longer aligns properly with the cabinet frame. It’s a subtle misalignment, but enough to prevent a clean close.
Overloaded Door Shelves
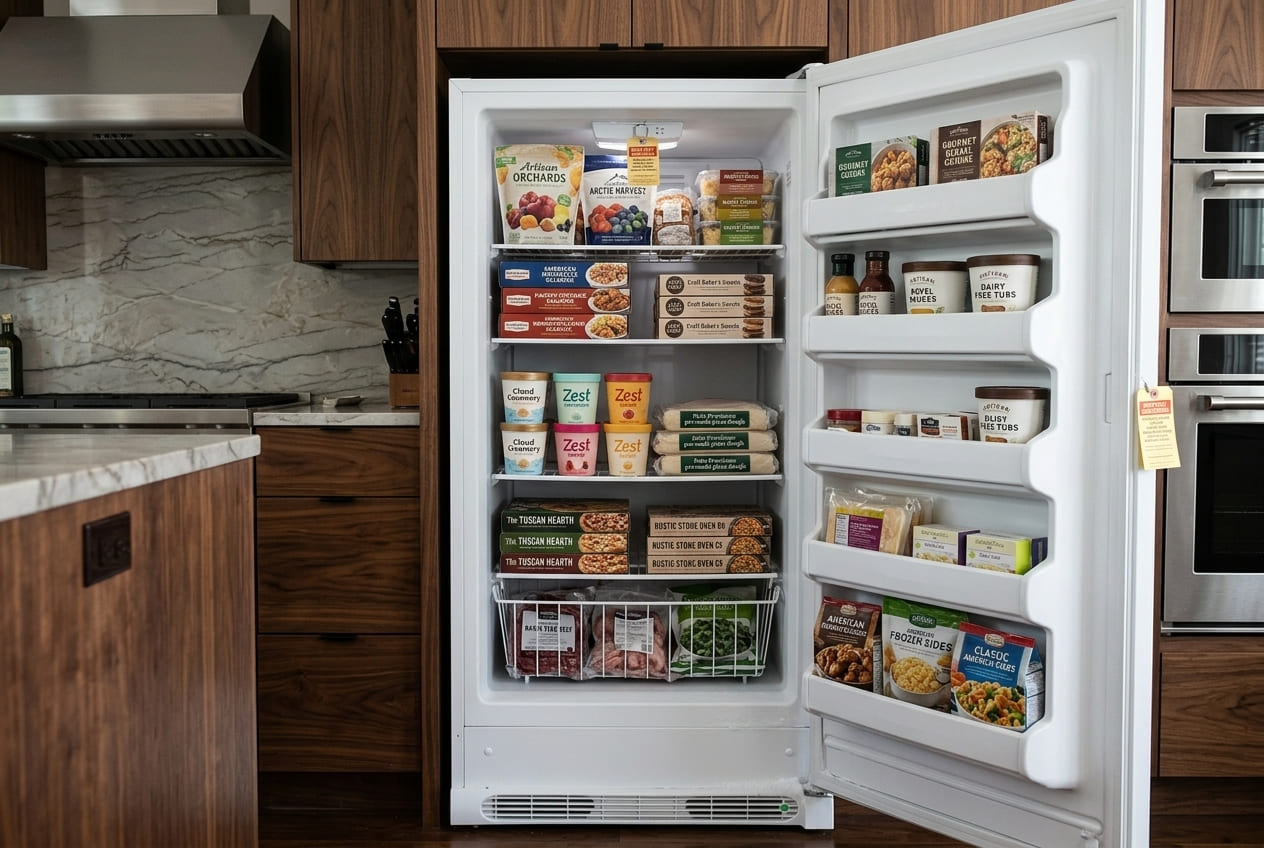
This one isn’t a parts failure — it’s a weight problem. Kenmore upright freezer door shelves are rated for specific loads, and exceeding them puts constant downward stress on the hinges. Over time, this accelerates bushing wear and can bend the bottom hinge. If your door shelves are packed with heavy items — that’s worth addressing regardless of what other repairs you make.
As a general rule: door shelves on Kenmore uprights are designed for lighter, frequently accessed items. Heavy bulk storage belongs on the interior shelves.
Freezer Tilting Forward
A freezer that leans even slightly toward the front works against door closure. Gravity pulls the door open rather than helping it swing shut. This is especially common with Kenmore upright models installed on garage floors or basement slabs that aren’t perfectly level — and it’s something that often develops gradually as the unit settles.
Check it with a bubble level placed on top of the unit. The front should be slightly higher than the rear — about 1/4 inch — so the door naturally wants to swing closed. If the unit is level or tilting forward, the leveling legs need adjustment.
How to Fix a Kenmore Freezer Door That Won't Close
Work through these in order of difficulty. Start with the free fixes before buying parts.
Fix 1 — Level the Freezer
Difficulty: Easy | Time: 10 min | Cost: $0
This takes two minutes and costs nothing. Do it first.
Steps:
- Place a bubble level on top of the freezer, front to back.
- Locate the front leveling legs (usually two, at the front corners). Turn them clockwise to raise that corner, counterclockwise to lower it.
- Adjust until the front sits about 1/4 inch higher than the rear. The door should now swing toward closed on its own in the last few inches.
- Check side-to-side level as well — the unit should be even left to right.
On Kenmore upright models with rear rollers, the rollers are fixed-height; all leveling adjustment happens at the front legs.
Fix 2 — Replace the Closing Cam
Difficulty: Easy | Time: 10 min | Cost: $5–$25
If leveling didn’t solve it, check the closing cam before touching the hinges.
Steps:
- Open the door fully and look at the bottom hinge assembly. The closing cam is the small angled plastic piece the door rides over as it swings shut.
- Inspect it for cracks or flat spots. A worn cam will look noticeably flattened where it should have a raised profile.
- If damaged: snap or unscrew the old cam out (varies by model — some are snap-in, some have a single screw).
- Press or screw the new cam into place. A small amount of petroleum jelly on the cam surface helps it operate smoothly.
- Close the door slowly — you should feel it pull itself shut in the last few inches.
Find the correct part using your full model number.
Fix 3 — Replace the Door Stop
Difficulty: Easy | Time: 10 min | Cost: $5–$20
The door stop is typically a screw-mounted plastic bracket near the hinge. If it’s cracked or missing:
- Remove the single mounting screw.
- Swap in the new door stop and reinstall.
- Open the door to its full range and confirm it stops at the correct angle without over-extending.
Fix 4 — Fix a Sagging Door With Shims
Difficulty: Easy | Time: 15 min | Cost: $0–$5
For minor door sagging where the hinge itself isn’t bent — just loose or slightly misaligned — shimming the bottom hinge can lift the door back into position without a full hinge replacement.
Steps:
- Loosen (don’t remove) the bottom hinge mounting screws.
- Slide a thin metal washer or shim plate under the hinge plate on the cabinet side. A standard 1/16″ washer is usually enough for minor sag.
- Retighten the screws and check the door position.
- Repeat with a slightly thicker shim if needed.
This works well on some KENMORE 253-series where the bottom hinge screws tend to work loose over time, causing gradual sag without actual hinge damage.
Fix 5 — Replace the Hinge Bushings
Difficulty: Moderate | Time: 20–30 min | Cost: $5–$25 per bushing
If the door drags when opening and sags at the handle end, the hinge bushing is likely the issue.
Tools needed: 10mm socket, flat-head screwdriver.
Steps:
- Empty the door shelves completely — this reduces weight and makes the door easier to handle.
- Remove the top hinge cover (usually a snap-off plastic cap).
- Unscrew the top hinge and carefully lift the door off the bottom hinge pin. Have a second person hold the door — freezer doors are heavier than they look, and dropping one can damage the cabinet frame.
- With the door off, the bottom hinge bushing is accessible. Remove the hinge bracket with the 10mm socket, slide out the worn bushing, and press the new one into place.
- Reinstall the door on the bottom hinge pin first, then reattach the top hinge. Check alignment before fully tightening.
Fix 6 — Replace the Door Hinges
Difficulty: Moderate | Time: 30–60 min | Cost: $20–$80 per hinge
When a hinge is visibly bent or cracked, shimming won’t help — it needs to come out.
Tools needed: Phillips screwdriver, nut driver, a helper.
Steps:
- Empty the door shelves. This is non-negotiable — a loaded door is significantly heavier and harder to control.
- Remove the top hinge cover and unscrew the top hinge. Keep the screws — you’ll reuse them unless the new hinge comes with hardware.
- With your helper holding the door, lift it straight up off the bottom hinge pin and set it on a blanket or padded surface.
- Remove the old bottom hinge (usually 2–3 screws into the cabinet base). Install the new hinge in the same position.
- Reinstall the door: lower it onto the bottom hinge pin first, then reattach the top hinge. Don’t fully tighten yet.
- Close the door and check the gap around the perimeter. If it’s uneven, loosen the top hinge slightly and shift the door position before retightening.
Important for hinge adjustment on Kenmore Elite models: Elite units like the KENMORE 253.21742 series use spring-loaded or dampened hinge mechanisms. These require the door to be fully removed before any adjustment — attempting to adjust under load can damage the spring assembly. The spring tension is set at the factory; if it’s lost, the hinge assembly typically needs full replacement rather than adjustment.
Kenmore Freezer Door Problems by Model Type
Not every Kenmore freezer fails the same way. Here’s what we see most often by configuration.
Kenmore Elite Upright Freezers
Elite models — including the KENMORE 253.21742 series and similar Frigidaire-built uprights — use more complex hinge designs with spring-loaded or dampened mechanisms. The upside is a smoother, more controlled door swing. The downside: when the spring loses tension or the dampener fails, the door either swings too freely or resists closing entirely.
Hinge adjustment on these models is not the same process as on standard uprights. The spring assembly is integrated into the hinge bracket, and attempting to force it into position without removing the door first can crack the bracket. If you’re seeing a door that swings open too easily or doesn’t pull itself shut, check the spring tension before assuming the hinge itself is bent.
Also worth noting: Elite models tend to have heavier doors due to additional insulation and larger gasket profiles. This puts more stress on the bottom hinge bushing, which is why bushing wear shows up earlier on Elite units than on standard models.
Kenmore Standard Upright Freezers
The KENMORE 253-series uprights (Frigidaire-built) are the most common type we service for door closure issues. The hinge system is conventional — two hinges, a closing cam at the bottom, and a straightforward removal process. Parts are widely available and generally inexpensive.
The most frequent pattern on these models: the bottom hinge screws work loose over time, causing gradual door sagging that gets worse slowly enough that owners don’t notice until the door is visibly crooked. A quarterly check of hinge screw tightness can prevent this from becoming a full hinge replacement job.
Kenmore Side-by-Side Freezer Compartments
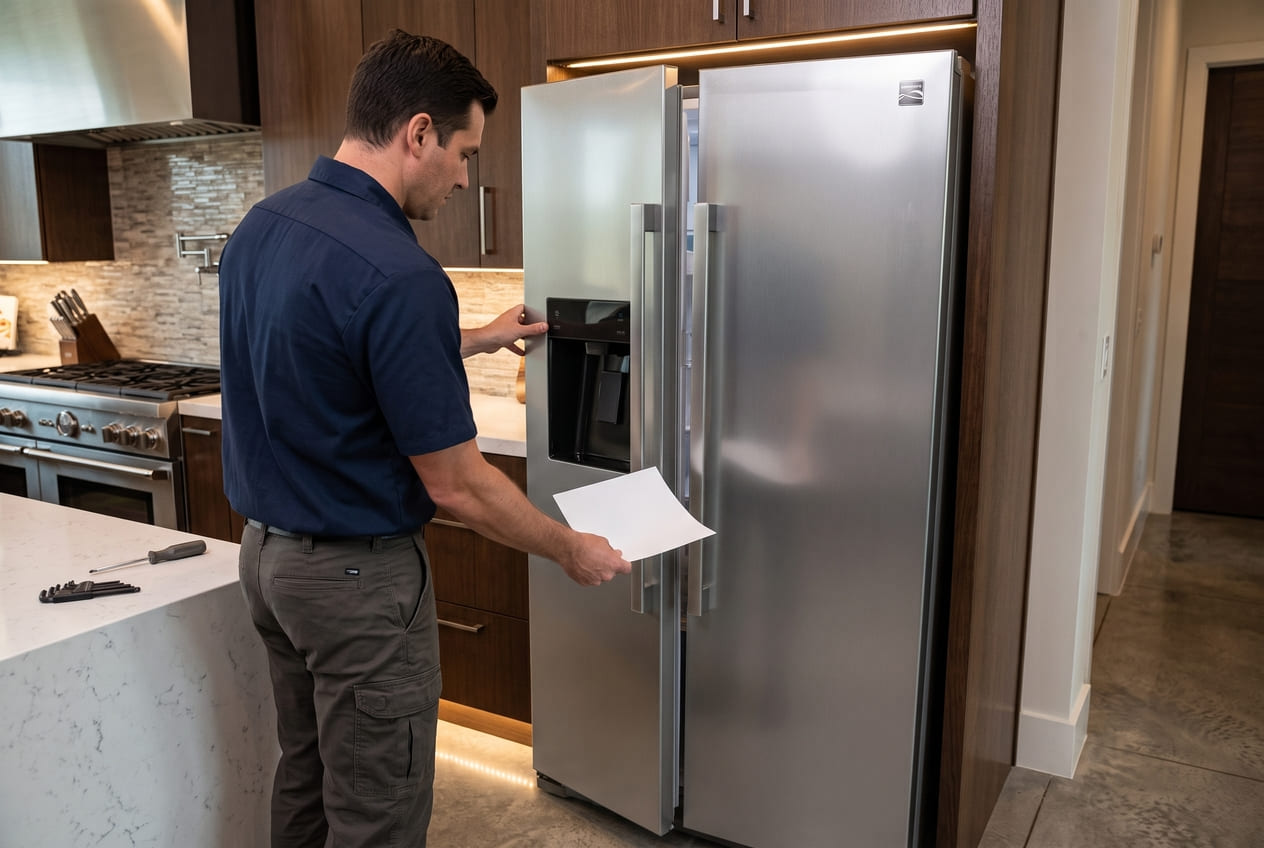
On side-by-side models the freezer door is narrower and lighter than a standalone upright door, which reduces sag risk. However, the center hinge — shared between the refrigerator and freezer sections — is a more common failure point. When the center hinge develops play, the freezer door can shift slightly out of door alignment even when the top and bottom hinges are fine.
Center hinge issues on side-by-side models often show up as a door that closes but doesn’t latch cleanly, or a gap that appears only at the center of the door height. Tightening the center hinge screws is the first step; if the hinge bracket itself is bent, replacement is needed.
When to Call a Professional
DIY is the right move for most of the repairs above. But there are situations where it’s not:
- The door frame or cabinet is physically bent or cracked — no hinge replacement will fix a warped frame. This requires structural assessment.
- You’ve replaced the hinge and the door still won’t align — persistent misalignment after a hinge swap usually points to cabinet warping, which is a professional diagnosis.
- Multiple components are failing at once — hinge + bushing + cam all failing together suggests the door has been under unusual stress (impact, overloading, or a previous repair done incorrectly).
- The freezer is under warranty — DIY repairs can void coverage. Check your documentation before picking up a screwdriver.
- You don’t have a helper for door removal — this isn’t a one-person job. Attempting it solo risks dropping the door and damaging the cabinet or the door itself.
Conclusion
A Kenmore freezer door that won’t close is almost always a mechanical problem with a mechanical solution. In the majority of cases, it comes down to one of six causes: a bent or loose hinge, worn hinge bushings, a closing cam broken at the bottom pivot, a damaged door stop, overloaded shelves stressing the hinges, or the unit not being level.
Start with the free fixes — leveling and cam inspection — before ordering parts. If the door is sagging, do the Door Drop Test to confirm it before assuming the hinge needs replacement; shimming often handles minor sag without a full swap. For Elite models with spring-loaded hinges, always remove the door before attempting any hinge adjustment.
Most of these repairs are genuinely DIY-friendly. The one non-negotiable: have a helper when removing the door. A freezer door is heavier than it looks, and a dropped door can turn a $50 repair into a much bigger problem.
FAQ
1. My Kenmore freezer door closes fine when I push it firmly, but swings back open if I just let it go. What's the issue?
This is a classic closing cam failure. The cam is supposed to give the door a final inward push as it swings shut — when it’s worn flat or broken, the door stops just short of latching. Check the cam at the bottom hinge before anything else; it’s a 10-minute fix.
2. I adjusted the leveling legs on my Kenmore upright freezer, but the door still won't stay closed. What am I missing?
If leveling didn’t solve it, the next thing to check is the closing cam, then the hinge screws. Loose hinge screws are a very common cause of doors that won’t stay shut on 253-series Kenmore uprights — tighten them and recheck before assuming you need new parts.
3. The door on my Kenmore Elite freezer is harder to close than it used to be. It doesn't sag, but it takes real effort to push it shut. What causes that?
On Elite models with spring-loaded hinges, this usually means the spring tension has increased due to a hinge mechanism that’s binding or partially seized. It can also happen if the door gasket has swollen slightly and is creating more resistance. Check the hinge assembly first — if the spring feels stiff or the hinge doesn’t move smoothly, the hinge bracket may need replacement.
4. My Kenmore freezer door was closing fine until I moved the unit to a new location. Now it won't stay shut. What happened?
Moving almost always shifts the leveling legs. Even a small forward tilt is enough to prevent the door from staying closed. Re-level the unit first — front slightly higher than rear — and test the door before doing anything else.
5. How do I know if my Kenmore freezer door hinge needs replacing versus just tightening?
Tighten the hinge screws first and recheck the door position. If the door sits flush and closes properly after tightening, you’re done. If the door still sags or gaps after tightening — or if you can see the hinge plate is visibly bent — replacement is needed. A hinge that’s bent won’t straighten back to spec just from tightening.
6. Can I replace just one hinge on my Kenmore freezer, or do I need to replace both at the same time?
You can replace a single hinge — there’s no requirement to replace both. That said, if one hinge has failed from wear or stress, the other is often not far behind. If the bottom hinge is bent, inspect the top hinge carefully before closing everything up; replacing both at once saves a second disassembly later.