Quick Diagnosis Checklist — answer these before scrolling further:
- Does a dollar bill slide out easily when you close the door on it? → Gasket issue
- Is there visible frost or ice along the door frame? → Seal failure or ice buildup
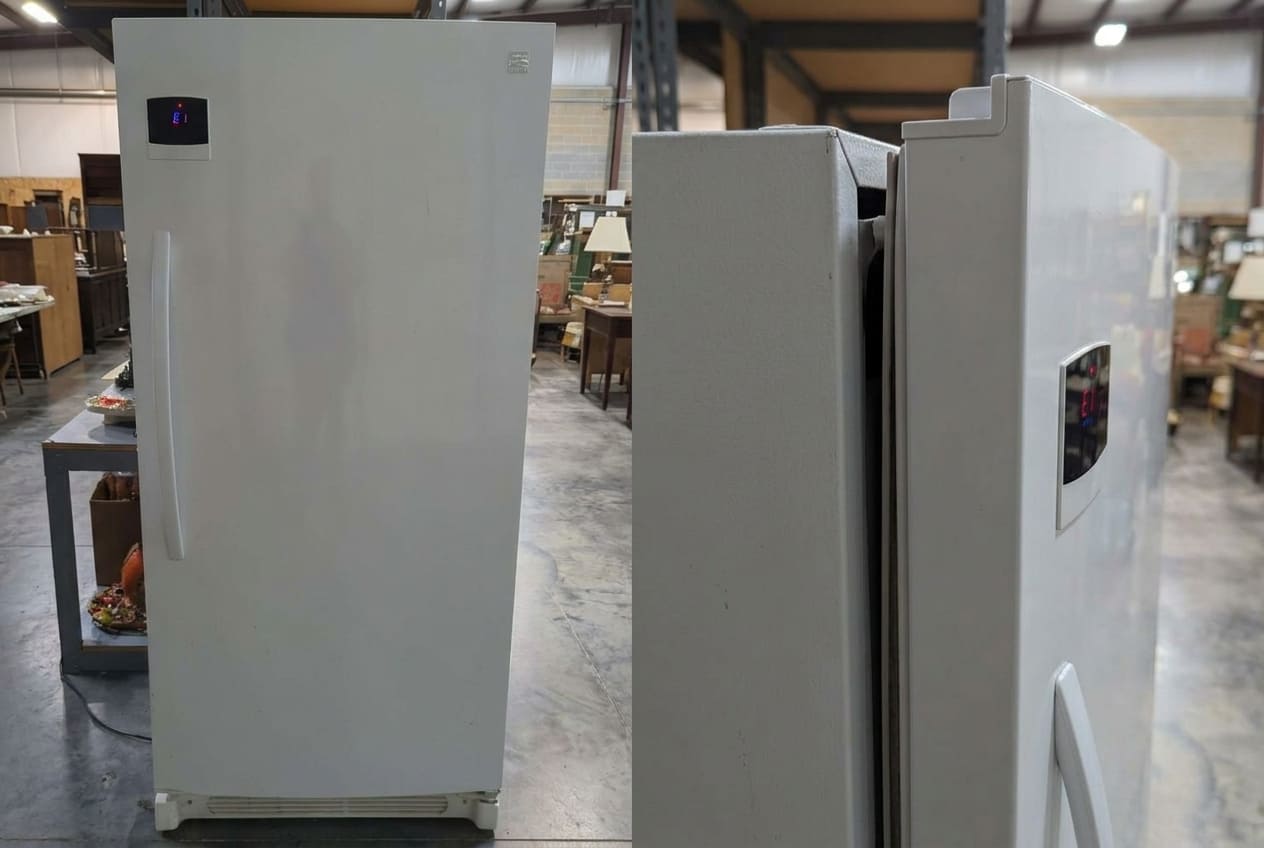
- Does the door hang slightly crooked or not sit flush? → Hinge or leveling problem
- Did the door recently start popping open on its own? → Closing cam or leveling issue
- Did you just defrost or deep-clean the freezer? → Gasket may need reshaping
If you answered yes to any of these, you’re in the right place. Let’s figure out exactly what’s going on.
Your Kenmore freezer door works on a simple principle: a flexible rubber gasket runs around the entire door perimeter, and an embedded magnetic strip pulls it snug against the cabinet frame every time you close the door. When that seal is solid, cold air stays in, warm air stays out, and your freezer runs efficiently. When it’s not — even a small gap — you get frost creeping along the door frame, the compressor cycling more than it should, and eventually, food that isn’t staying as frozen as it should be.
In our experience at Appliance Repair Master, Kenmore freezer door sealing problems are among the most common service calls we get in Atlanta. And the frustrating part? Most of them could have been caught earlier. The good news is that several of these fixes are genuinely DIY-friendly — if you know what you’re actually dealing with.
Why Your Kenmore Freezer Door Isn't Sealing
There are five root causes that cover the vast majority of cases. Before you order any parts or pick up a screwdriver, run through these to identify which one applies to your situation.
Worn or Damaged Door Gasket
This is the most common culprit, and it’s especially prevalent in Kenmore models that are 5+ years old. The door gasket — that flexible rubber strip around the door edge — gradually loses its elasticity. It hardens, develops cracks, or flattens out in spots where it’s been compressed for years. Once the rubber stiffens, the magnetic strip inside it can no longer pull the gasket flush against the cabinet.
The dollar-bill test: Close the freezer door on a dollar bill. If you can pull it out without any resistance, the gasket isn’t creating enough pressure at that spot. Run this test at multiple points around the door — top, sides, bottom corners. Corners are where door gasket worn problems show up first.
We often see such problems in KENMORE 253.28092806 (Elite upright, Frigidaire-built) — gasket corners crack and separate from the channel after 4–6 years.
Misaligned or Bent Door Hinges
Hinge misalignment is something a lot of people overlook because the door still opens and closes — it just doesn’t sit quite right. Over time, especially if the door shelves are loaded heay, the hinges take on stress they weren’t designed for. The top hinge tends to pull away from the cabinet slightly; the bottom hinge can bend downward.
The visual check is straightforward: close the door and look at the gap between the door edge and the cabinet frame. If it’s uneven — wider at the top or bottom — door alignment is your issue, not the gasket itself. Replacing the gasket on a misaligned door won’t fix anything.
Broken Closing Cam or Door Stop
Here’s one that rarely gets mentioned in generic repair guides. The closing cam (also called a pivot block on some Kenmore models) is a small plastic component at the bottom hinge assembly. Its job is to give the door a slight inward push as it swings shut, helping it seat against the gasket. When the closing cam is broken, the door swings to “closed” position but doesn’t actually press into the seal — it just rests there loosely.
You’ll notice this as a door that seems closed but pops open slightly when you walk past it or when the compressor vibrates. It’s a cheap part ($5–$25) and a 10-minute fix, but it gets misdiagnosed as a gasket problem constantly.
Freezer Not Level — The Hidden Culprit
An unlevel freezer causes the door to hang open by gravity. Even a quarter-inch tilt toward the front is enough to prevent a proper seal. This is particularly common with Kenmore upright freezer models installed on slightly uneven garage floors or basement slabs.
Check it with a bubble level placed on top of the unit. The freezer should be very slightly tilted backward (toward the wall) — this actually helps the door swing shut on its own. If it’s tilting forward, the door will always want to drift open.
Frost or Ice Buildup Around the Seal
This one works both ways. A failing gasket causes frost to form along the door frame — but once that frost builds up enough, it physically prevents the door from closing fully, making the seal even worse. It’s a feedback loop.
If you see a ridge of ice along the door frame, don’t just try to force the door shut. Defrost that area first (a warm, damp cloth works fine), then test the seal. If the gasket holds after defrosting, the ice was the cause. If it still fails the dollar-bill test, the gasket itself needs attention.
How to Fix a Kenmore Freezer Door That Won't Seal
Work through these in order — start with the easiest fixes before moving to part replacements.
Fix 1 — Clean and Reshape the Gasket With Heat
Difficulty: Easy | Time: 15 min | Cost: $0
Before assuming the gasket needs replacement, try this. A gasket that’s been compressed in the same position for years can develop a permanent “set” — it no longer springs back to its original shape. Heat can fix this.
Steps:
- Mix warm water with a small amount of dish soap. Wipe down the entire gasket, paying attention to the corners and the hinge side.
- Use a hair dryer on medium heat (or a hot, damp washcloth) and work along the gasket slowly, especially any sections that look flattened or kinked.
- While the rubber is still warm, press the gasket firmly against the cabinet frame and hold it for 30 seconds.
- Apply a thin layer of petroleum jelly (Vaseline) along the hinge-side section of the gasket — this helps it compress and seat properly without sticking.
- Re-run the dollar-bill test.
This works surprisingly well on gaskets that are still flexible but have lost their shape. It won’t help a gasket that’s cracked, hardened, or has lost its magnetic pull.
Fix 2 — Replace the Door Gasket (Full Walkthrough)
Difficulty: Moderate | Time: 30–45 min | Cost: $30–$100 for the part
Door seal replacement is the most common repair for this issue, and it’s well within DIY range if you’re comfortable with basic tools.
Finding the right part:
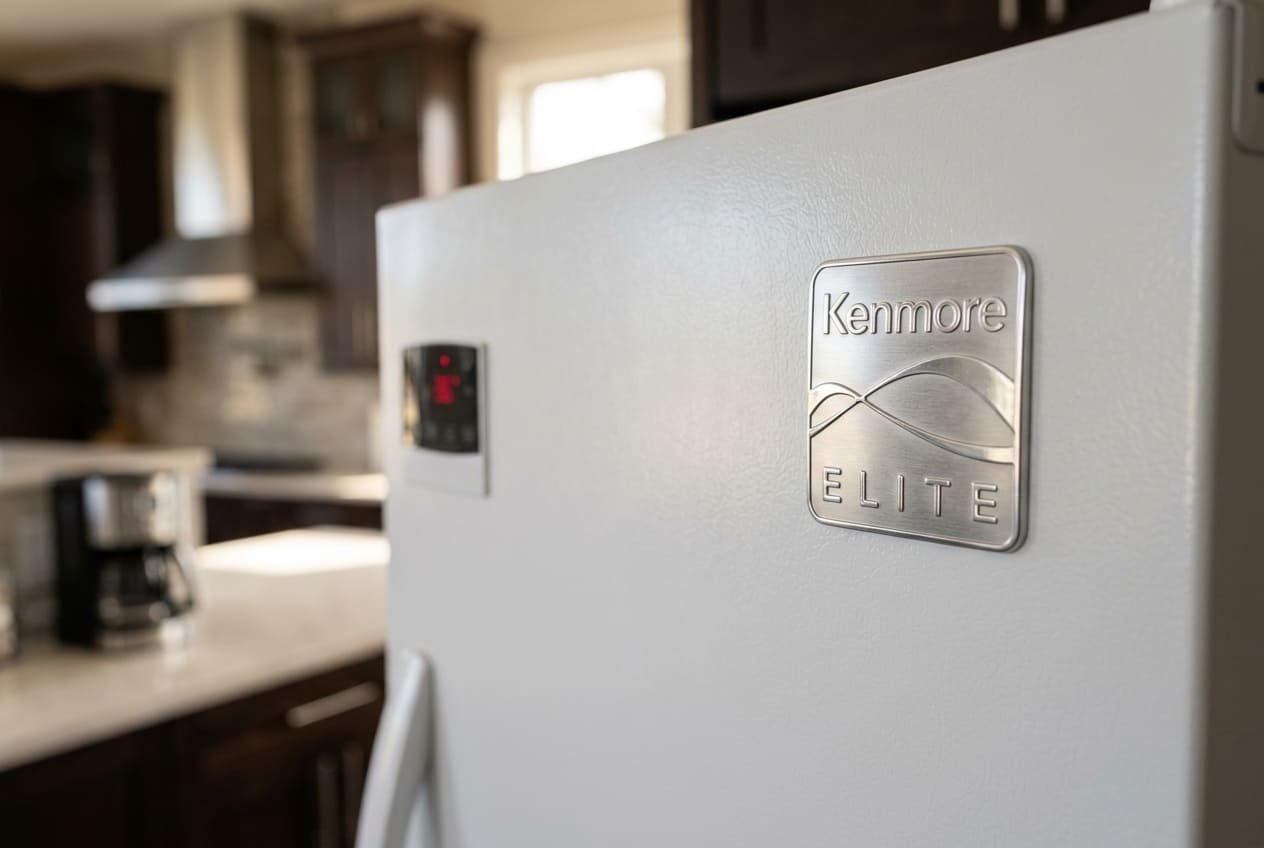
The model number sticker is on the inside wall of the freezer compartment — usually on the left side or ceiling. For Kenmore models starting with 253.xxxxx, the unit was manufactured by Frigidaire; models starting with 106.xxxxx are Whirlpool-built. This matters because the gasket profiles differ. Use the full model number when searching on the web to get the correct fit.
Tools needed: Phillips screwdriver, flat-head screwdriver or putty knife, bucket of warm water.
Steps:
- Soak the new gasket in warm water for 15–20 minutes before installation. This makes it pliable and removes the creases from packaging — skipping this step is the #1 reason new gaskets don’t seat properly.
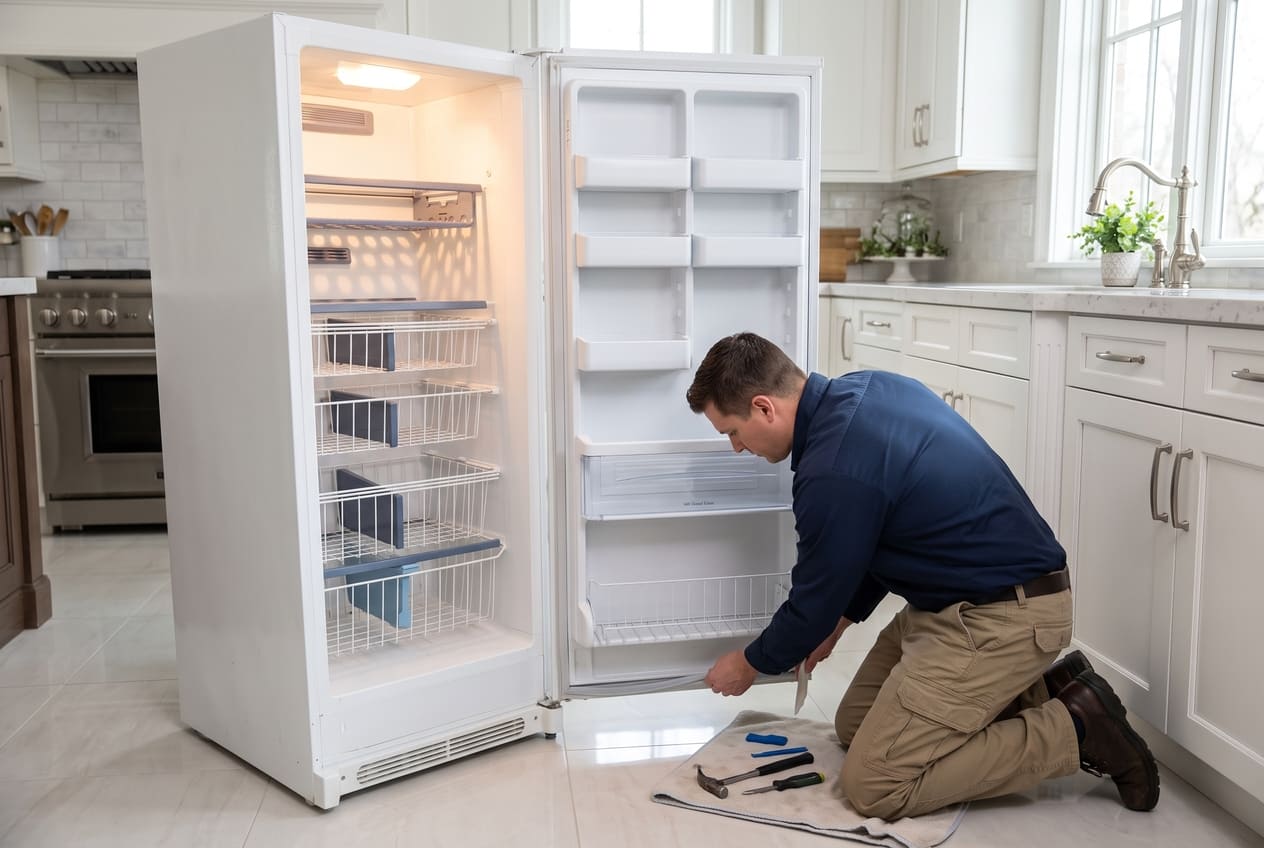
- Open the freezer door fully. Starting at a top corner, pull the old gasket away from the door channel. On most Kenmore uprights, the gasket is held by screws under a retaining strip — loosen (don’t remove) these screws before pulling.
- Work around the door, removing the old gasket completely. Clean the channel with a damp cloth.
- Starting at the top center, press the new gasket’s lip into the channel. Work outward toward the corners, then down the sides. Corners last.
- Tighten the retaining screws once the gasket is fully seated. Don’t overtighten — you want the gasket to compress slightly, not be pinched.
- Close the door and check for gaps. If a section isn’t seating, use the hair dryer trick from Fix 1 to coax it into place.
Note on Kenmore Elite models (253.28093800 and similar): These use a slightly thicker gasket profile with a wider magnetic section. Make sure you’re ordering the Elite-specific part — a standard gasket won’t create a proper seal on these doors.
Fix 3 — Adjust or Replace Door Hinges
Difficulty: Moderate | Time: 20–40 min | Cost: $15–$50 per hinge
If the door alignment check showed an uneven gap, start with the hinges.
Steps:
- Check all hinge screws — both top and bottom. Loose screws are often the entire problem. Tighten them and recheck the door position.
- If the door still sags, you may need to shim the lower hinge. A thin metal washer placed under the hinge plate can raise the door edge by a few millimeters — enough to correct minor door sagging.
- For hinge adjustment on Kenmore Elite models with spring-loaded hinges: these require the door to be fully removed before the hinge can be adjusted. The spring mechanism adds tension — don’t attempt to adjust under load.
- If a hinge is visibly bent or cracked, replacement is the only fix. Match the hinge by model number; Kenmore upright hinges are not universal.
Fix 4 — Replace the Closing Cam
Difficulty: Easy | Time: 10 min | Cost: $5–$25
The closing cam (or pivot block) sits at the bottom hinge. On most Kenmore uprights, it’s a snap-in plastic piece — no tools required for removal.
Steps:
- Open the door fully and look at the bottom hinge assembly. The closing cam is the small angled plastic piece that the door rides over as it closes.
- If it’s cracked or broken, simply snap it out and press the new one into place.
- Close the door slowly and feel whether it now pulls itself shut in the last few inches. That’s the cam working correctly.
This is one of the most underrated fixes in freezer door repair. If your door seems to close but doesn’t quite “catch,” this is worth checking before anything else.
Fix 5 — Level the Freezer
Difficulty: Easy | Time: 10 min | Cost: $0
For upright Kenmore freezers:
The front leveling legs are adjusted by turning them clockwise (raises that corner) or counterclockwise (lowers it). The goal is a very slight backward tilt — about 1/4 inch higher at the front than the back. This lets gravity assist the door closure.
For Kenmore chest freezers:
Chest freezers rely on the lid’s own weight to seal. If the unit isn’t level side-to-side, the lid may rest unevenly on the gasket. Adjust the rear rollers and front legs until the unit is level in both directions.
5 Signs Your Kenmore Freezer Gasket Needs Replacing
Structured for quick reference — if you’re seeing two or more of these, the gasket is likely past its useful life:
- Visible cracks or tears — especially at the corners or along the hinge side. Even a hairline crack breaks the seal.
- Fails the dollar-bill test — no resistance when you pull the bill out with the door closed.
- Frost buildup along the door frame — a classic sign that warm air is getting in at the seal line.
- Freezer running constantly — the compressor compensates for temperature loss caused by a leaking seal. Your energy bill will reflect it.
- Condensation on the exterior door surface — warm, humid air hitting the cold door creates moisture. If it’s happening consistently, the seal isn’t holding.
A gasket in good condition typically lasts 5–10 years. Heavy use, frequent door opening, and storing warm food directly in the freezer all accelerate wear.
When to Call a Professional
DIY is great for the fixes above. But there are situations where it’s the wrong call:
- The door frame is bent or cracked — no gasket will seal against a warped frame. This requires structural repair or door replacement.
- You’ve replaced the gasket and it still leaks — the problem is likely hinge misalignment or a bent frame, not the gasket.
- Multiple components are failing simultaneously — gasket + hinge + closing cam all at once usually points to a door that’s been stressed (dropped, overloaded, or impacted).
- The freezer is under warranty — check your coverage before doing any DIY work. Kenmore’s standard warranty is 1 year parts and labor; Elite models sometimes carry extended coverage on specific components.
- You’re not seeing improvement after leveling and gasket work — at that point, a technician can do a proper door alignment check and identify what’s actually causing the gap.
Conclusion
A Kenmore freezer door that won’t seal properly isn’t just an inconvenience — it’s a slow drain on your energy bill and a risk to everything stored inside. The good news is that most cases come down to one of five fixable causes: a door gasket worn past its useful life, hinge misalignment, a closing cam broken at the bottom hinge, leveling issues, or ice buildup physically blocking the seal.
Start with the dollar-bill test to confirm you actually have a seal problem, then work through the fixes in order — from the free ones (heat reshaping, leveling) to part replacements (gasket, hinges, cam). Most Kenmore upright freezer owners can resolve this in an afternoon. If you hit a wall, or if the door frame itself is the issue, that’s when a professional assessment saves you time and prevents a misdiagnosis.
FAQ
1. My Kenmore freezer door feels like it's closing, but frost keeps building up along the frame. What's going on?
This is a classic sign of a partial seal failure. The door may be making contact with the gasket but not compressing it fully — often due to a flattened gasket section or slight hinge sag. Run the dollar-bill test around the full perimeter to find where the gap is.
2. I replaced the gasket on my Kenmore Elite freezer, but it still doesn't seal on the hinge side. Did I get the wrong part?
Possibly — Elite models use a specific gasket profile that differs from standard Kenmore uprights. But more likely, the hinge-side gap is a door alignment issue. The hinge-side gasket is always under more compression stress; if the door isn’t hanging perfectly straight, no gasket will seal that side properly.
3. How do I know if my freezer's closing cam is the problem versus the gasket?
If the door passes the dollar-bill test when you hold it firmly closed but pops open slightly when you just let it swing shut, the closing cam is the likely culprit. A bad gasket fails the dollar-bill test regardless of how firmly the door is held.
4. My Kenmore chest freezer lid has frost on one side only. Is that a gasket problem?
Not necessarily. Uneven frost on a chest freezer lid often points to lid warping rather than gasket failure. The lid may have developed a slight bow over time, creating a gap on one side. Check whether the lid sits flat across its full width — if it rocks or shows daylight on one side, the lid itself is the issue.
5. Can I use any brand of replacement gasket, or does it have to be OEM?
Aftermarket gaskets exist and are cheaper, but fit can be inconsistent — especially on Kenmore Elite models with non-standard door profiles. For models in the 253.xxxxx series, we generally recommend OEM or OEM-equivalent parts to avoid the frustration of a gasket that’s close but not quite right.
6. What is the dollar-bill test and what does it tell you?
Close the freezer door on a dollar bill — if it slides out without resistance, the gasket isn’t creating enough pressure at that point. Run this test at multiple spots around the door to pinpoint exactly where the seal is failing.