Run These 4 Checks Before Anything Else
About 40% of ice maker calls we get at Appliance Repair Master come down to one of these four things:
- Is the ice maker switch arm down (ON position)? An arm stuck in the up position shuts off production entirely.
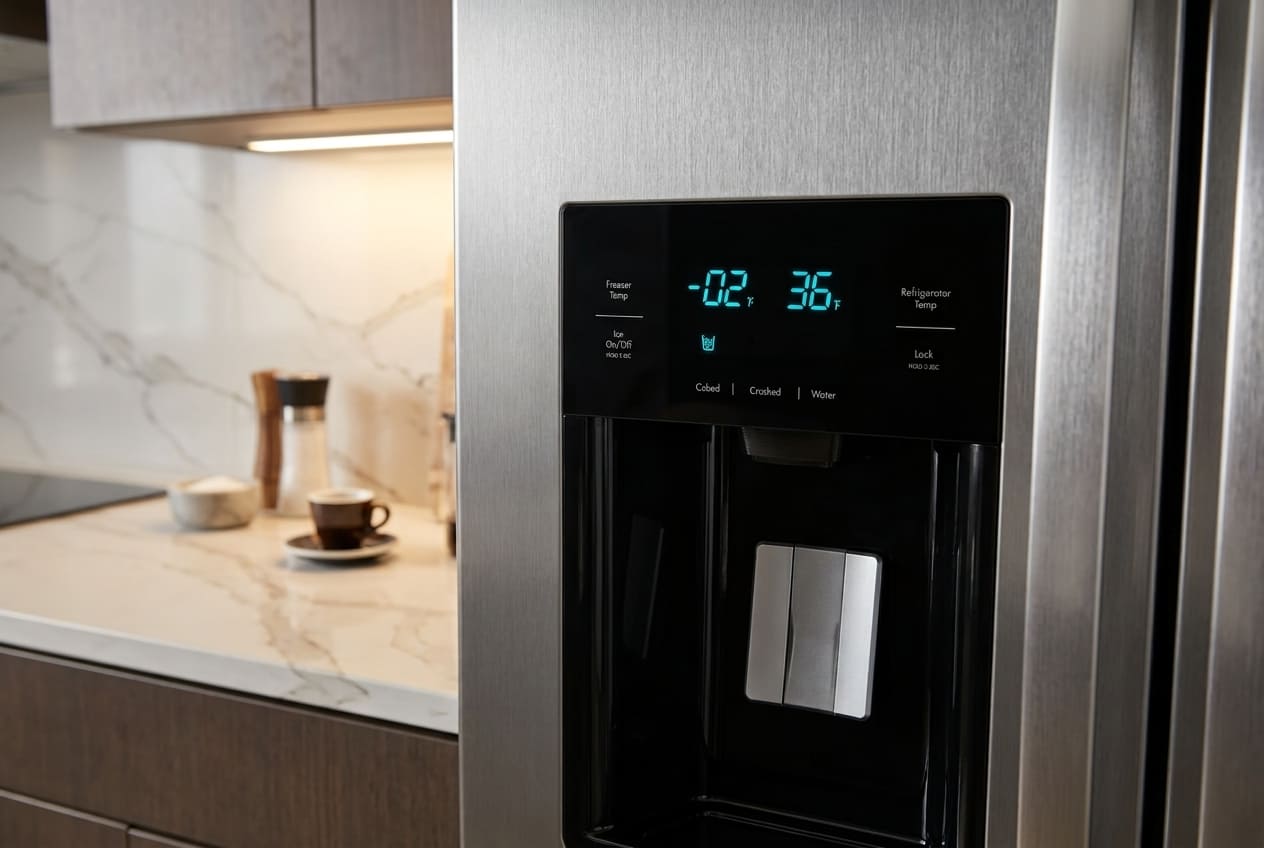
- Is the freezer temperature sitting at 0–5°F (−18 to −15°C)? Above that range, ice won’t form.
- Is the water supply valve behind the unit fully open?
- Has the water filter been replaced in the last 6 months?
If any of these are off, fix it first and wait 24 hours before moving on.
Ice maker problems are the most common service call we handle for Kenmore freezers and refrigerator-freezers in Atlanta. The frustrating part is that the symptoms often look the same — no ice — but the causes are completely different. A frozen fill tube, a failed water inlet valve, a worn-out icemaker mold thermostat, a bad door switch — each one requires a different fix. This guide walks you through all of them, in the right order, so you’re not replacing parts you don’t need.
Why Your Kenmore Freezer Ice Maker Stopped Working
Freezer Temperature Is Too High
This is the first thing to rule out, because no other fix will work if the temperature is wrong. Ice makers need the freezer temperature to be at 0°F (−18°C) or below to complete a proper freeze cycle. At 5°F (−15°C), production slows significantly. Above 10°F (−12°C), the ice maker won’t cycle at all.
A standalone thermometer placed in the center of the freezer compartment gives you the most accurate reading — the built-in display on many Kenmore models can read 3–5 degrees warmer than actual. If the temperature is off, that’s a separate issue to address first. A door seal problem, a failing defrost system, or a dirty condenser can all push the freezer temperature up enough to stop ice production.
Water Supply Problems: Filter, Line, and Valve
Three separate failure points, all with the same result — no water reaching the ice maker:
Clogged water filter: A filter that’s been in service longer than 6 months starts restricting flow. On Kenmore models with a filter indicator light, the light is a reminder, not a guarantee — some filters clog faster depending on local water quality. A restricted filter produces small, hollow, or misshapen cubes before it stops production entirely.
Frozen fill tube: The fill tube is the small plastic tube that delivers water from the inlet valve into the ice mold. When the freezer temperature drops below 0°F, or when a door seal issue lets warm air in and out repeatedly, this tube can freeze solid. The ice maker will cycle — you’ll hear the motor — but no water fills the mold.
Faulty water inlet valve: The water inlet valve is an electro-mechanical valve at the back of the unit. It requires a minimum of 20 psi of household water pressure to open fully. Below that threshold, it won’t deliver enough water even if the valve itself is working. Above 20 psi, if the valve still isn’t opening, the solenoid coil has likely failed and the valve needs replacement.
Frozen Ice Maker Assembly
When the ice maker assembly itself freezes up — ice jams around the ejector arms, frost builds up inside the mold — the mechanism can’t complete its cycle. This usually happens as a downstream effect of a door seal problem letting humid air in, or a defrost system that isn’t keeping up. The ice maker may click and hum but produce nothing.
A bad door seal is one of the more common triggers for this — warm, moist air enters the freezer, condenses, and freezes around the ice maker components. If you’re seeing frost buildup around the ice maker area, that’s the pattern to look for.
Faulty Door Switch
The door switch does two things when the freezer door opens: it turns on the interior light and signals the ice maker and dispenser to pause. A switch that’s stuck in the “open” position permanently tells the ice maker the door is open — so it never runs.
Testing it is simple: press the switch manually with the door open. If the interior light doesn’t go out when you press it, the switch has failed. This is a $5–$15 part and a straightforward replacement.
Defective Ice Maker Module
The ice maker module is the motor-driven control unit that runs the freeze/harvest/eject cycle. When the module fails, the ice maker either doesn’t cycle at all or gets stuck partway through — arms that won’t turn, molds that fill but never eject. Most module components aren’t sold separately; when the module fails, the whole unit is replaced.
On KENMORE 795-series (an LG-built Elite model), module failure is a documented pattern — particularly on units that have also experienced compressor issues, since temperature instability accelerates wear on the ice maker electronics. If your 795-series Kenmore has been running warm and the ice maker has stopped, check the module after ruling out temperature and water supply.
Failed Mold Thermostat
The icemaker mold thermostat monitors the temperature of the ice tray. When the mold reaches the correct temperature — cold enough that the ice is fully frozen — the thermostat signals the module to start the harvest cycle: heat the mold slightly, eject the cubes, refill with water. If the thermostat fails, that signal never comes. The mold fills with water, freezes solid, and just sits there. The ice maker appears to be working but never ejects.
This is one of the more overlooked causes, and it’s testable with a multimeter — no continuity means the thermostat needs replacement.
Ice Level Control Board
On Kenmore models equipped with an ice level control board (infrared sensor), an infrared beam monitors how full the ice bin is. When the bin is full, the beam is interrupted and the ice maker shuts off. When ice is used and the level drops, the beam clears and production resumes. If the ice level control board fails or the infrared emitter/receiver gets dirty or misaligned, the ice maker may think the bin is always full — and never run.
This is more common on KENMORE 253-series (Frigidaire-built side-by-sides) and similar models with in-door ice systems. Cleaning the sensor lens with a dry cloth is worth trying before replacing the board.
How to Fix a Kenmore Freezer Ice Maker
Work through these in order. The first few cost nothing and solve the majority of cases.
Step 1 — Check and Correct Freezer Temperature
Difficulty: Easy | Time: 5 min + 24 hr wait | Cost: $0
Set the freezer to 0°F using the control panel. Place a standalone thermometer in the center of the compartment — not on the door shelf — and check it after 24 hours. If the temperature isn’t reaching 0°F, the ice maker problem is secondary to a cooling issue that needs to be addressed first.
Don’t set the freezer colder than 0°F trying to speed up ice production. Temperatures below 0°F can freeze the fill tube and actually stop ice production entirely.
Step 2 — Replace the Water Filter
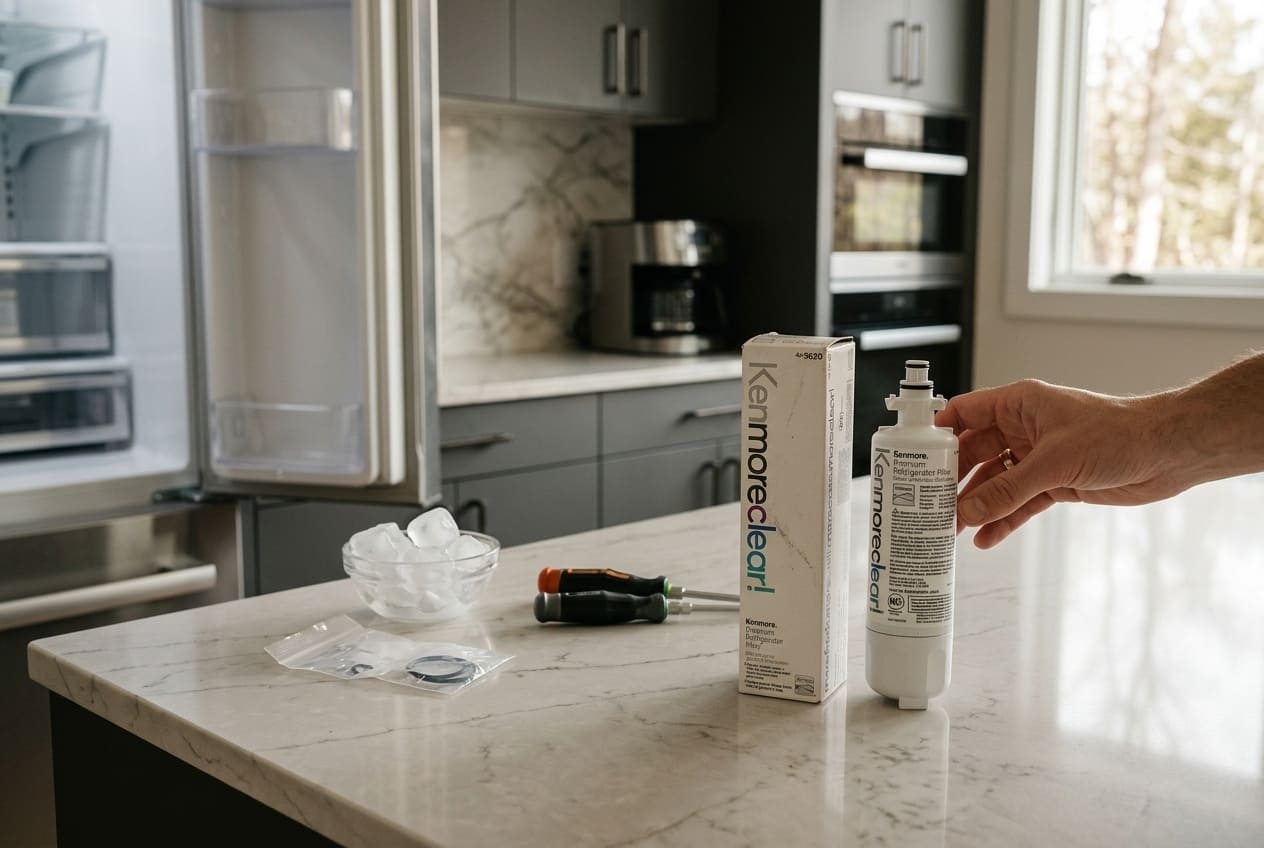
Difficulty: Easy | Time: 5 min | Cost: $15–$40
Filter location varies by model:
- 795-series (LG-built): Inside the refrigerator compartment, upper left area
- 253-series (Frigidaire-built): Base grille or inside the fresh food section
- 106-series (Whirlpool-built): Upper right inside the fridge or base grille
Replace the filter, run 2–3 gallons of water through the dispenser to purge air, then wait 24 hours for ice production to resume. The water filter 6 months replacement cycle is the manufacturer’s standard recommendation — in areas with hard water, every 4–5 months is more realistic.
Step 3 — Thaw a Frozen Fill Tube
Difficulty: Easy | Time: 15–20 min | Cost: $0
If the ice maker cycles but produces no ice, a frozen water line in the fill tube is the most likely cause.
Steps:
- Locate the fill tube — it’s the small plastic tube entering the back of the ice maker from above or the side.
- Hold a hair dryer on low heat approximately 6 inches from the tube. Move it slowly back and forth. Do not use high heat or hold it stationary — you can melt the plastic.
- After 10–15 minutes, the ice plug should clear. You may hear a drip.
- Run a manual fill cycle (see Step 5 for how to trigger this) to confirm water is flowing.
If the fill tube freezes again within a few days, the root cause is either a temperature issue or a door seal problem — not the tube itself.
Step 4 — Test and Replace the Water Inlet Valve
Difficulty: Moderate | Time: 20–30 min | Cost: $15–$50 for the valve
The water inlet valve is at the back of the unit where the household water supply connects.
Testing:
- Unplug the unit and shut off the water supply.
- Disconnect the wiring harness from the valve solenoid.
- Set a multimeter to resistance (Ohms). Test across the solenoid terminals. A reading of 200–500 Ohms indicates a functional solenoid; no reading (OL) means it’s failed.
- Also check that your household water pressure is at least 20 psi — below that, even a good valve won’t open fully.
Replacement: Pull the unit away from the wall, disconnect the water line and wiring, remove the two mounting screws, and swap in the new valve. Match the part by model number — the valve configuration differs between LG-built (795-series) and Frigidaire-built (253-series) Kenmore models.
Step 5 — Clear an Ice Jam or Frozen Assembly
Difficulty: Easy | Time: 15–20 min | Cost: $0
If the ice maker assembly is frozen solid or jammed:
- Remove the ice bin and set it aside.
- Use a plastic utensil — never metal — to gently break up any visible ice around the ejector arms. Metal tools can crack the mold or damage the heating element.
- For a more thorough thaw, place a bowl of hot water in the freezer with the door closed for 15 minutes, or use a hair dryer on low heat directed at the ice maker housing.
- Once clear, trigger a manual test cycle: on most Kenmore models, there’s a small test button on the side or bottom of the ice maker module. Press and hold for 3 seconds. The arms should rotate and the mold should fill.
On KENMORE 795.76203901 (an LG-built model with a bottom-freezer ice maker), ice jams around the ejector arms are a recurring complaint — often caused by the ice maker running at temperatures slightly too cold, which causes over-freezing in the mold. Adjusting the freezer temperature up by 1–2 degrees often prevents recurrence.
Step 6 — Test the Door Switch
Difficulty: Easy | Time: 10 min | Cost: $5–$15 for replacement
- Locate the door switch — it’s typically a small button on the door frame, near the top.
- With the door open, press the switch manually. The interior light should go out.
- If the light stays on, test the switch with a multimeter for continuity when depressed. No continuity = failed switch.
- Replacement is a simple pull-out, plug-in swap on most Kenmore models.
Step 7 — Replace the Ice Maker Module
Difficulty: Moderate | Time: 20–30 min | Cost: $60–$150 for the module
If the ice maker doesn’t respond to the test button in Step 5, the module has likely failed.
Steps:
- Remove the ice bin and unscrew the ice maker mounting screws (usually 2–3).
- Disconnect the wiring harness — note the connector orientation before pulling.
- Install the new module in reverse order. Make sure the fill cup is aligned with the fill tube before tightening the mounting screws.
- Trigger a test cycle and confirm the arms rotate and water fills the mold.
Find the correct replacement module using your full model number. Remember that the module for a 795-series LG-built Kenmore is not interchangeable with a 253-series Frigidaire-built unit.
Step 8 — Test the Mold Thermostat
Difficulty: Moderate | Time: 15 min | Cost: $10–$25
The icemaker mold thermostat is located inside the ice maker module housing, clipped to the mold itself.
- Remove the ice maker module (see Step 7).
- Locate the thermostat — a small disc or cylinder clipped to the mold.
- Test with a multimeter for continuity at room temperature. A functioning thermostat should show continuity when warm. If there’s no continuity, replace it.
- Replacement thermostats are inexpensive and widely available by model number.
How to Reset a Kenmore Ice Maker
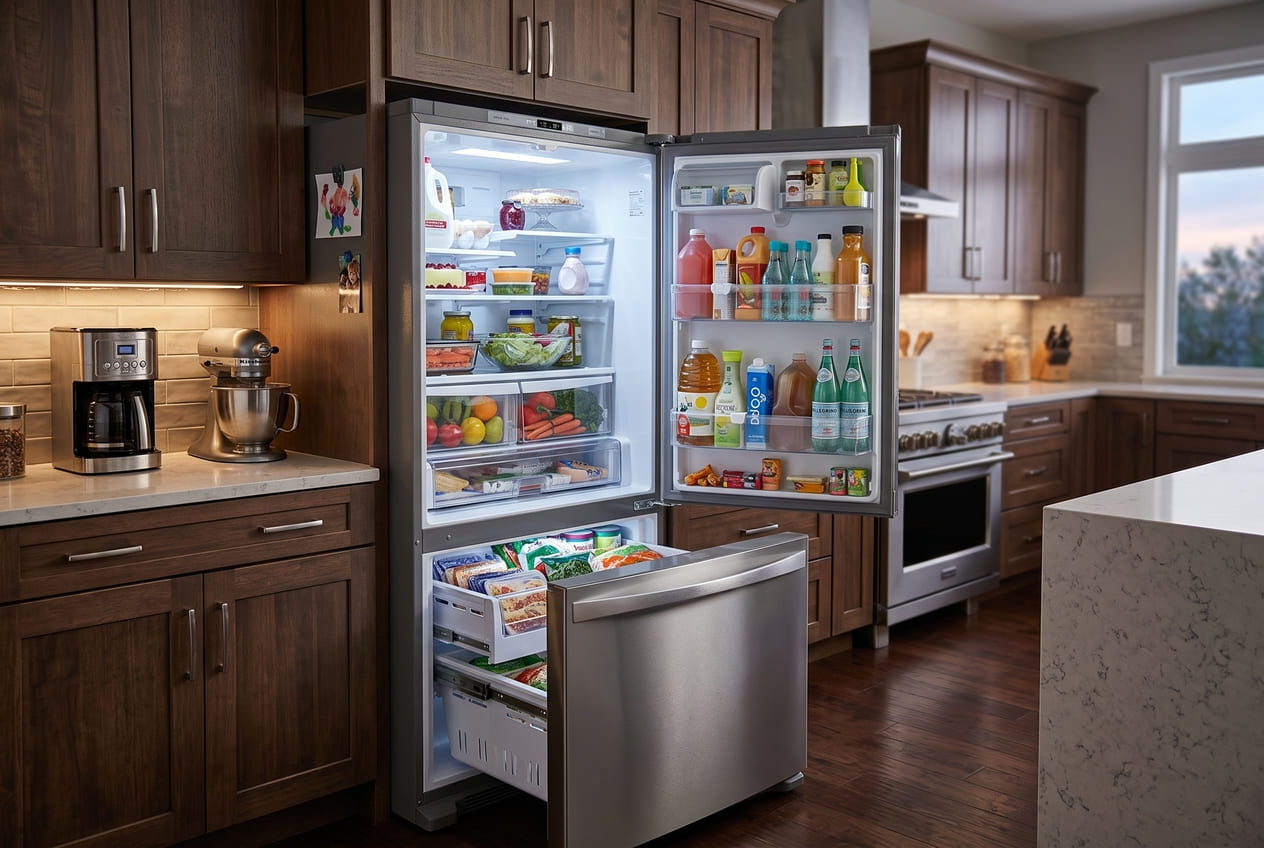
This is one of the most-searched Kenmore ice maker queries, so here’s a clear, model-specific breakdown:
Method 1 — Power Cycle Reset (All Models)
- Turn the ice maker off using the switch or by lifting the wire arm to the UP position.
- Unplug the refrigerator from the wall outlet.
- Wait 30–60 seconds.
- Plug back in and turn the ice maker back on (arm DOWN).
- Wait 24 hours for the first batch.
Method 2 — Test Button Reset
On most Kenmore upright and French door models, there’s a small test/reset button on the ice maker module itself:
- 253-series (Frigidaire-built): Small Phillips-head screw slot on the front of the module — turn clockwise gently to trigger a test cycle.
- 795-series (LG-built Elite): Press and hold the test button (small recessed button on the module face) for 3 seconds. The arms will rotate through a full harvest cycle.
- 106-series (Whirlpool-built): Press and hold the feeler arm down for 10 seconds, or use the test button if present on the module.
Kenmore Elite French Door Models (795-series)
On KENMORE 795.74025 and similar Elite models, the ice maker is located in the freezer door or upper freezer compartment. The reset process is the same as Method 1, but these models also have a diagnostic mode accessible by pressing and holding the Refrigerator and Freezer temperature buttons simultaneously for 5 seconds — this can reveal stored error codes that point to the specific failure.
After any reset: The first ice batch takes 6–12 hours. Normal production after that is one batch every 90 minutes to 2 hours, yielding roughly 8–10 cubes per cycle.
Kenmore Ice Maker Troubleshooting by Symptom
Ice Is Small, Hollow, or Thin
Cause: Low water pressure or a partially clogged filter restricting flow to the mold. The mold fills partially, freezes, and ejects undersized cubes.
Fix: Replace the water filter first. If cubes are still small after a new filter, check the inlet valve screen for mineral buildup — it can be cleaned with white vinegar without replacing the valve.
Ice Maker Is Leaking Water Into the Freezer
Cause: A cracked water line, a misaligned fill tube, or a water inlet valve that’s overfilling due to a stuck-open solenoid. If you’re seeing a puddle of ice forming under the ice maker, the fill tube is likely misaligned and water is missing the mold entirely.
If the leak is coming from below the unit, see our guide on Kenmore freezer leaking water for a full diagnosis.
Ice Maker Clicks or Hums but Produces Nothing
Cause: The motor is cycling, but water isn’t reaching the mold. This points to the inlet valve or a frozen water line — not the module itself. Run Step 3 (fill tube thaw) and Step 4 (valve test) before assuming the module has failed.
Ice Tastes Bad or Has an Off Smell
Cause: An overdue water filter, stale ice sitting in the bin too long, or a contaminated water line. Ice absorbs odors from the freezer compartment — an open box of baking soda in the freezer helps, but it doesn’t fix a filter problem.
Fix: Replace the filter, discard all existing ice, and clean the ice bin with a mild baking soda solution. If the taste issue persists after a new filter, flush the water line by running 2–3 gallons through the dispenser.
When to Call a Professional
DIY troubleshooting covers most ice maker failures. These situations are the exceptions:
- The control board has failed — diagnosing and replacing a main control board requires reading error codes and testing circuits. This is not a beginner’s repair.
- The sealed refrigeration system is involved — if the freezer isn’t reaching temperature due to a refrigerant issue, no ice maker fix will help until the cooling system is repaired.
- You’ve replaced the module and the ice maker still won’t cycle — at that point, the issue is likely electrical (wiring harness, control board) rather than mechanical.
- LG-built 795-series models with compressor issues — these models have a documented history of compressor problems that affect the entire cooling system, including ice production. If your 795-series Kenmore is running warm and the ice maker has stopped, have the compressor evaluated before spending money on ice maker parts.
Conclusion
A Kenmore freezer ice maker that stops working is almost always traceable to one of a handful of causes: the freezer temperature is too high, the water supply is blocked (filter, frozen line, or faulty valve), the ice maker assembly has frozen up, or a component like the mold thermostat or module has failed.
The order matters. Start with temperature and water supply — these are free to check and fix, and they account for the majority of cases. If those check out, move to the mechanical components. The reset procedure is worth trying at any stage; it costs nothing and occasionally clears a stuck cycle.
For LG-built Kenmore Elite models (795-series), pay extra attention to the fill tube and the module — these are the most common failure points on that platform. For Frigidaire-built models (253-series), the inlet valve and ice level control board are where problems tend to concentrate.
FAQ
1. My Kenmore ice maker was working fine, then stopped suddenly overnight. No warning signs. What's most likely?
Sudden stops — no gradual decline, just off — usually point to the ice maker switch arm getting bumped into the UP (off) position, or the door switch failing. Check both before anything else. If the arm is down and the door switch tests fine, a power surge may have locked up the module; try a full power-cycle reset.
2. My Kenmore Elite freezer is at 0°F and the water supply is fine, but still no ice. What's next?
On 795-series Elite models, the next thing to check is the fill tube for ice blockage — these models are prone to fill tube freezing even at correct temperatures if the door seal has any gap. After that, trigger a manual test cycle using the module’s test button. If the arms don’t rotate, the module has failed.
3. How do I know if my Kenmore ice maker is getting water at all?
Trigger a manual test cycle (test button or Phillips screw method depending on your model). Watch the fill tube opening — you should see water drip into the mold within 30–60 seconds of the cycle starting. No water means the issue is upstream: valve, filter, or frozen line. Water present but no ice means the problem is in the ice maker itself.
4. My Kenmore freezer makes ice, but the cubes are cloudy and taste strange. Is something wrong?
Cloudy ice is normal — it’s caused by dissolved minerals and air in the water, not a malfunction. Off-tasting ice, however, usually means the water filter is overdue for replacement or the ice bin hasn’t been cleaned in a while. Replace the filter, discard the existing ice, and clean the bin. If the taste issue continues after a fresh filter, the water supply line may need flushing.
5. Can I run my Kenmore freezer without the ice maker connected?
Yes. Lift the wire arm to the UP position (or press the OFF switch if your model has one) to disable the ice maker. The freezer will operate normally. If you want to disconnect it entirely, unplug the wiring harness from the module — the freezer won’t be affected.
6. My Kenmore ice maker runs a cycle, fills with water, but the ice never ejects. What's causing that?
This is the classic icemaker mold thermostat failure pattern. The thermostat isn’t signaling the module that the ice is frozen, so the harvest cycle never triggers. Test the thermostat for continuity with a multimeter — no continuity at room temperature means it needs replacement. It’s a $10–$25 part and one of the more satisfying DIY fixes because the diagnosis is so clean.